Re-Blooming Poinsettias
/
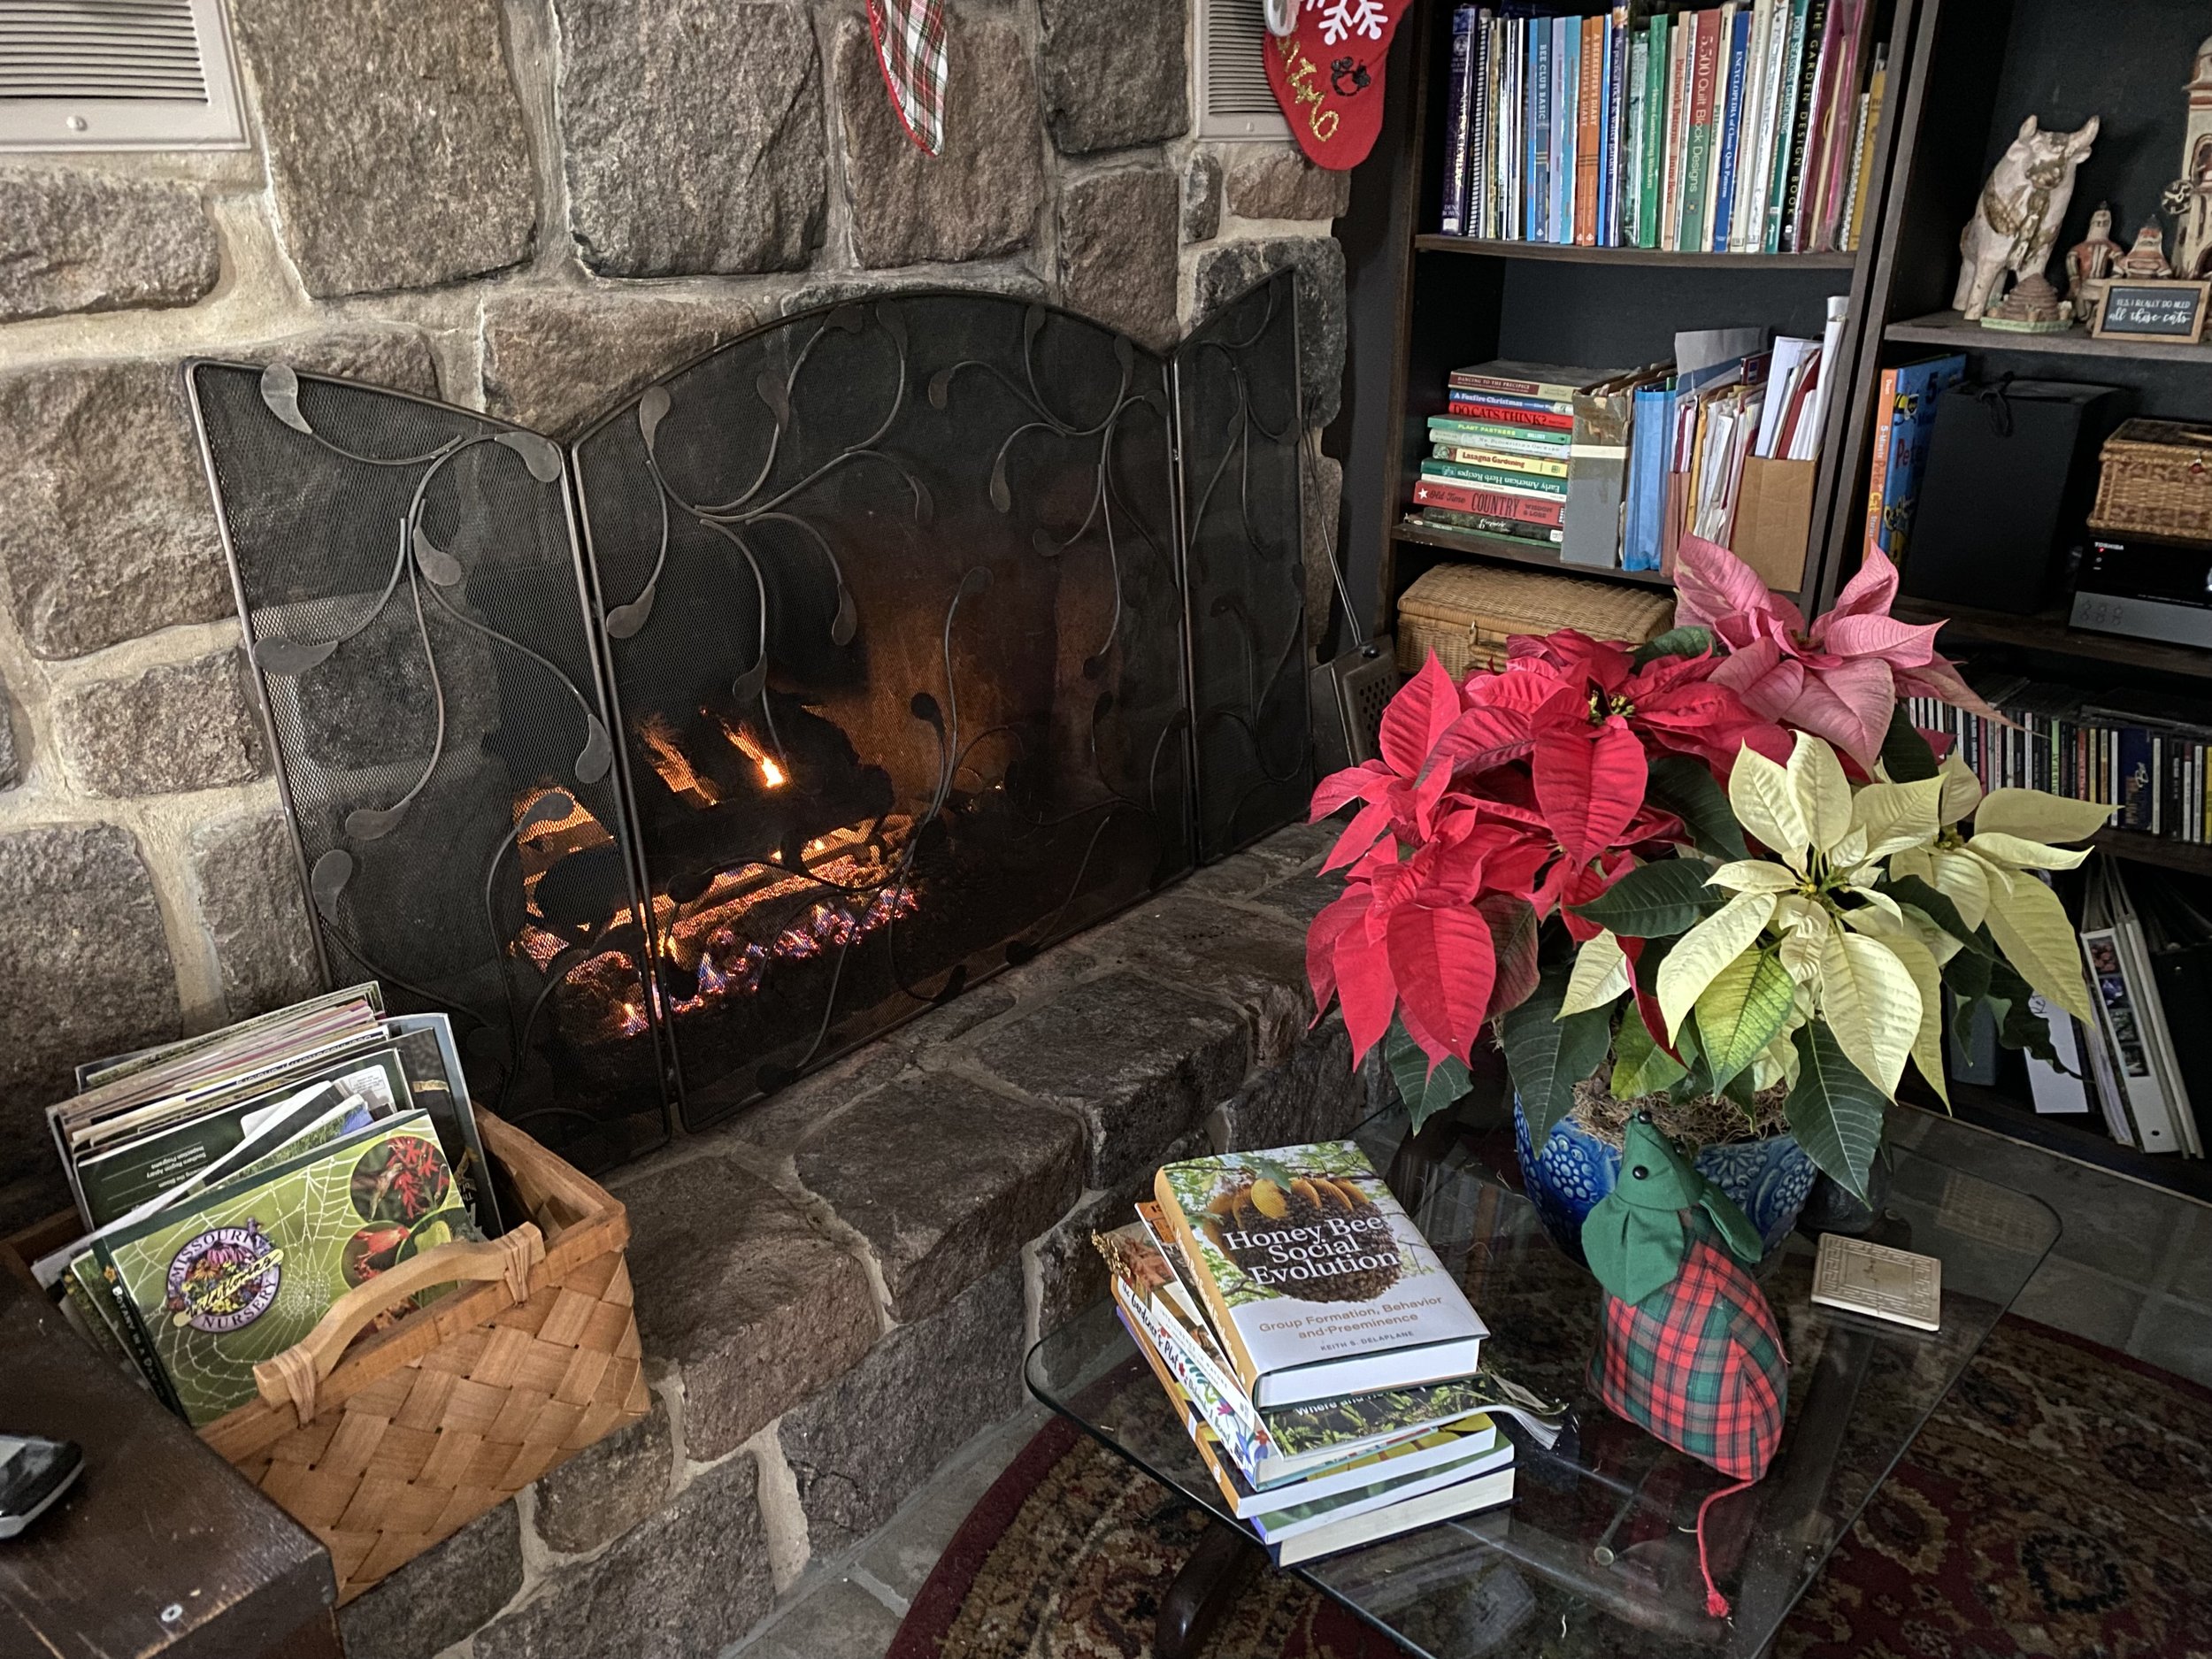
One of last year’s poinsettias is now spending its days in the basement. (Photo by Charlotte Ekker Wiggins)
Re-blooming Poinsettias
If you’re like me, you read about how to get poinsettias to re-bloom after Christmas, when you are deciding whether to try to keep the plants going or toss them in the composter. If the plant makes it to another Christmas, you look at the still green plant and wonder why it hasn’t turned color.
Well, the good news is its now September. This is when you need to tweak the plants to encourage their leaves to change color for the holidays.
The trick is to deny the plants light. To coax a poinsettia plant to bloom again, we are repeating the poinsettia life cycle. The color is actually the leaves changing.
This poinsettia plant still has a couple of red leaves from last year.
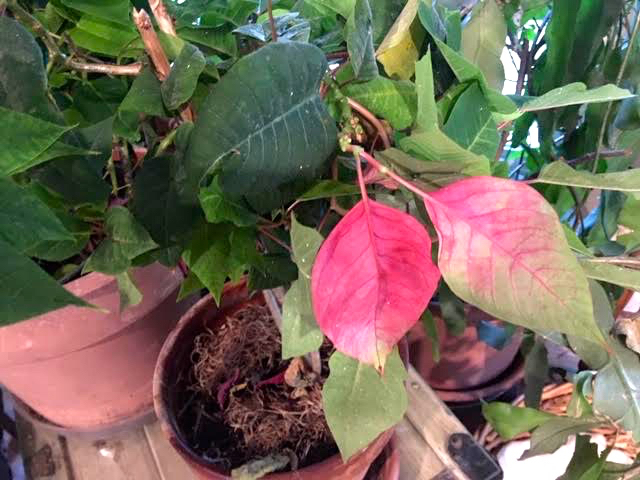
This little poinsettia still has a couple of red leaves from last year. (Photo by Charlotte Ekker Wiggins)
These lovely plants are originally from southern Mexico. I remember growing up around huge poinsettia trees so in the right conditions, they can grow rather large.
In the US, however, they are sold as holiday decorations with little regard to keeping them going after the holidays.
Now earlier this spring, I should have cut them back but I didn’t. I wasn’t sure whether they would even make it through summer so I left them in their original pots in a shady spot in front of my house. Some broke off so I inadvertently did end up pinching some of the branches back.
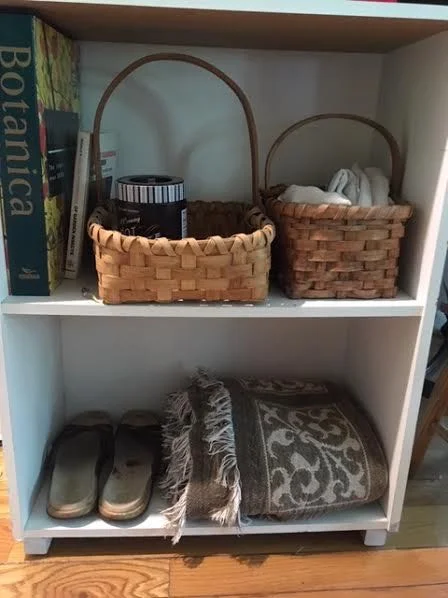
Now that it is September, it’s time to bring them inside. They are now in a room in the basement, where I will end up forgetting to water them, which is a good thing for once. They will also have bright light during the day with air conditioning keeping the temperature around 70F and total darkness at night with cooler temperatures around 60F.
The leaves should start showing color within 6-8 weeks.
Once color starts to show, they can be brought into regular room lighting and get more water.
Ok, let’s see how well this works!
Charlotte