How to Care for Poinsettias
/
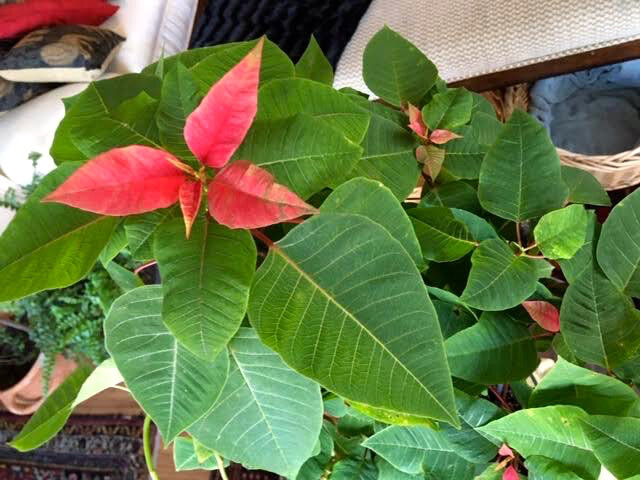
poinsettias warm up any room corner almost as much as a fireplace. (charlotte ekker wiggins photo)
How to Care for Poinsettias
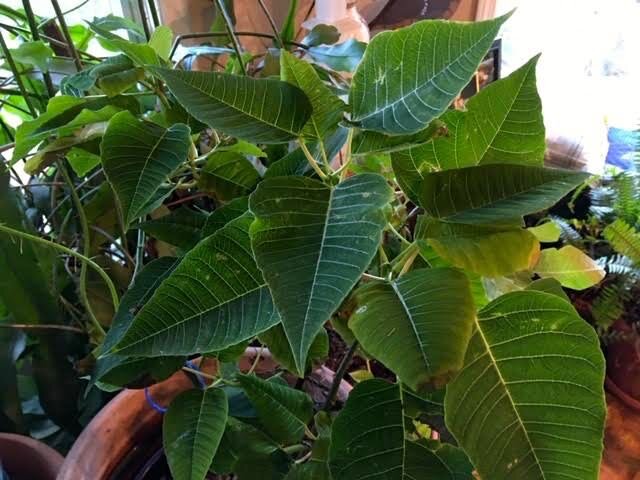
If there is one plant that beats Thanksgiving cactus as a holiday gift and home decor plant, it’s poinsettias. I remember them from our days living in Mexico City; in their native habitat they can grow into small understory trees. These colorful tropical plants are beautiful and quickly turn any room corner into a bright holiday spot.
How to Care for Poinsettia Tips
When shopping for a poinsettia, look in the center for tightly-closed yellow buds. Those are the actual flowers. Poinsettias without yellow centers are older and won’t last as long.
One of the biggest mistakes I see people making, especially in temperatures below 70F, is taking poinsettias out from a warm environment into cold. If you are purchasing poinsettias, ask them to be wrapped. Better yet, have brown bags, a lightweight blanket or cotton shirt you can place around the plant(s) as you move them to a warm car you drive close to the retailer entrance.
3. If they have decorative foil over the pot, remove the tin foil and add a saucer underneath. You can also place the plants in baskets with a saucer. You don’t want to keep the tin foil; tin foil can cause poinsettias to die from too much water.
4. Don’t overwater. Check the soil and water when the top one inch is dry.
5. Poinsettias emit a white sap when cut or broken. For some time, it was assumed the sap was poisonous to pets but it isn’t. Well, depends on how much the pet consumes. My cats don’t bother my poinsettias but I would keep the two separate if they did.
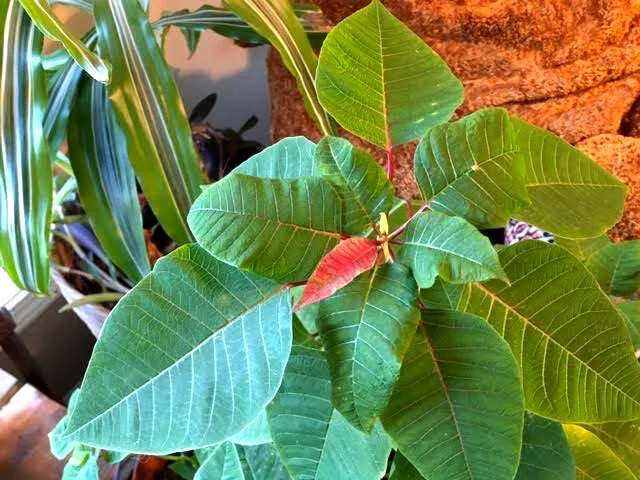
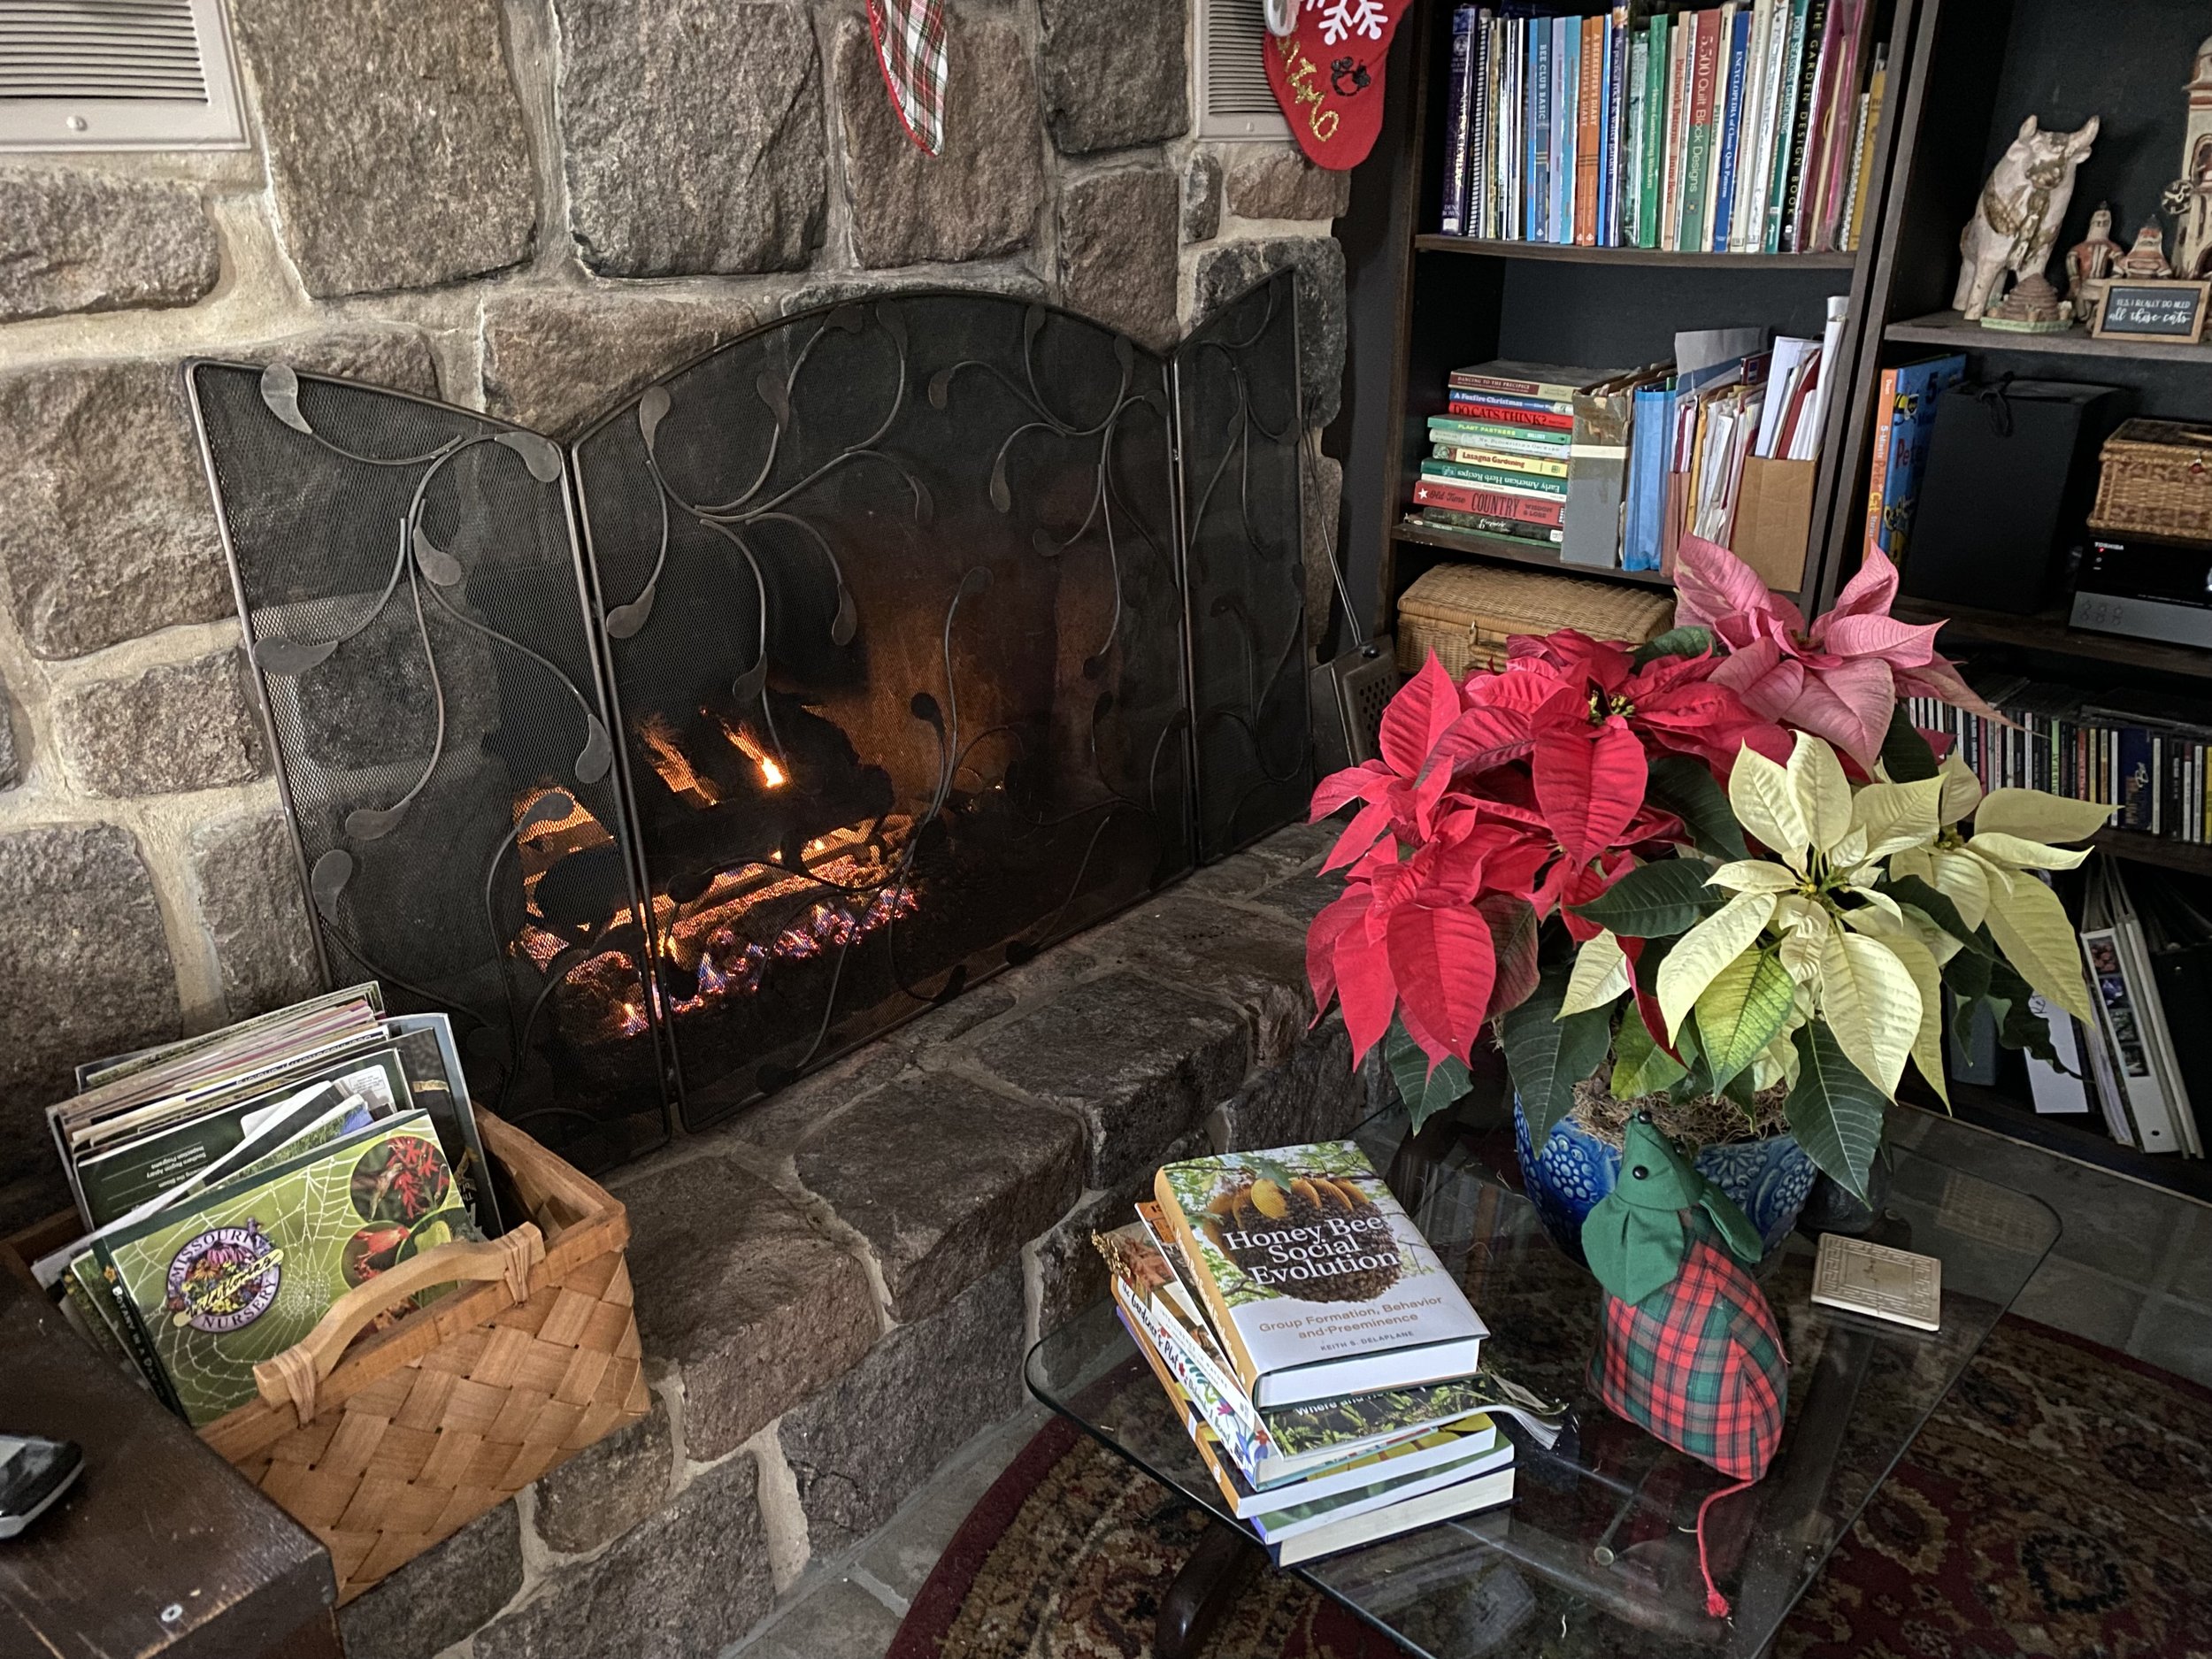
Last year’s gift poinsettias re-blooming this year. (Charlotte Ekker Wiggins photo)
This pink version in photo was a gift poinsettia from two years ago now that has survived construction, poor watering schedule and getting knocked over a couple of times while it was summering outside.
6. Place in the Right Spot.
Place your poinsettia in a spot with bright, indirect light. Direct sunlight can scorch the leaves, and too little light will cause it to drop leaves prematurely. Don’t place it on top of a TV or anything that generates heat. A spot near a window with sheer curtains is ideal.
Poinsettias prefer temperatures between 65°F and 75°F (18°C–24°C). Avoid placing them near drafts, heat vents, or fireplaces, as fluctuating temperatures can lead to leaf drop and poor growth.
During the growing season (spring through summer), fertilize with a balanced, water-soluble fertilizer every 4-6 weeks. Avoid fertilizing during the bloom period (fall and winter) to prevent encouraging too much leafy growth at the expense of the colorful bracts.
Keep the humidity around your poinsettia moderate. If your home is dry, especially in winter with indoor heating, place the plant on a humidity tray (a shallow tray filled with water and pebbles) or use a room humidifier. Just be sure the plant isn’t sitting in standing water.
7. Deadheading and Pruning
After the blooms (the colorful bracts) fade, you can prune back the stems to about 4 inches to encourage new growth. Trim off any yellowing or dead leaves. If you plan to keep the poinsettia beyond the holiday season, regular pruning will help maintain its shape.
If you want your poinsettia to bloom again the following year, light control is crucial. Poinsettias require 12-14 hours of complete darkness each night to trigger blooming. Starting around late September or early October, place the plant in total darkness (such as a closet or box) each night for about 8 weeks. During the day, ensure it gets plenty of bright, indirect light. After this period, the bracts should begin to show color.
8. Avoid Overcrowding
Crowding or placing poinsettias near other plants can lead to fungal or pest issues.
Keep your poinsettia a few inches away from other plants to allow for air circulation. This will help reduce the risk of pests like aphids and mealybugs, and it’ll keep the leaves dry to prevent mildew or mold.
9. Post-Holiday Care (Reblooming or Disposal)
Poinsettias can live long past the holiday season if given the right care.
After the holidays, you can either continue caring for the poinsettia and try to get it to rebloom (as mentioned above) or dispose of it. If you decide to keep it, prune back the plant and continue providing light, water, and moderate temperatures. If you don’t want to keep it, consider composting it rather than just tossing it in the trash.The bracts, or leaves when they are green, are a pretty shape and color and can easily be included in with other shade plants. I like them bunched up with my straight-leaf Bromeliads under trees in summer.
10. Poinsettias are not just Christmas plants. Poinsettias are available in many colors from red, pink and white and may continue to bloom into Valentine’s Day and Easter. Enjoy these lovely plants through other holidays.
For more gardening, beekeeping, cooking and easy home decor tips, subscribe to Garden Notes my free weekly newsletter.