Picking Throw Pillows
/
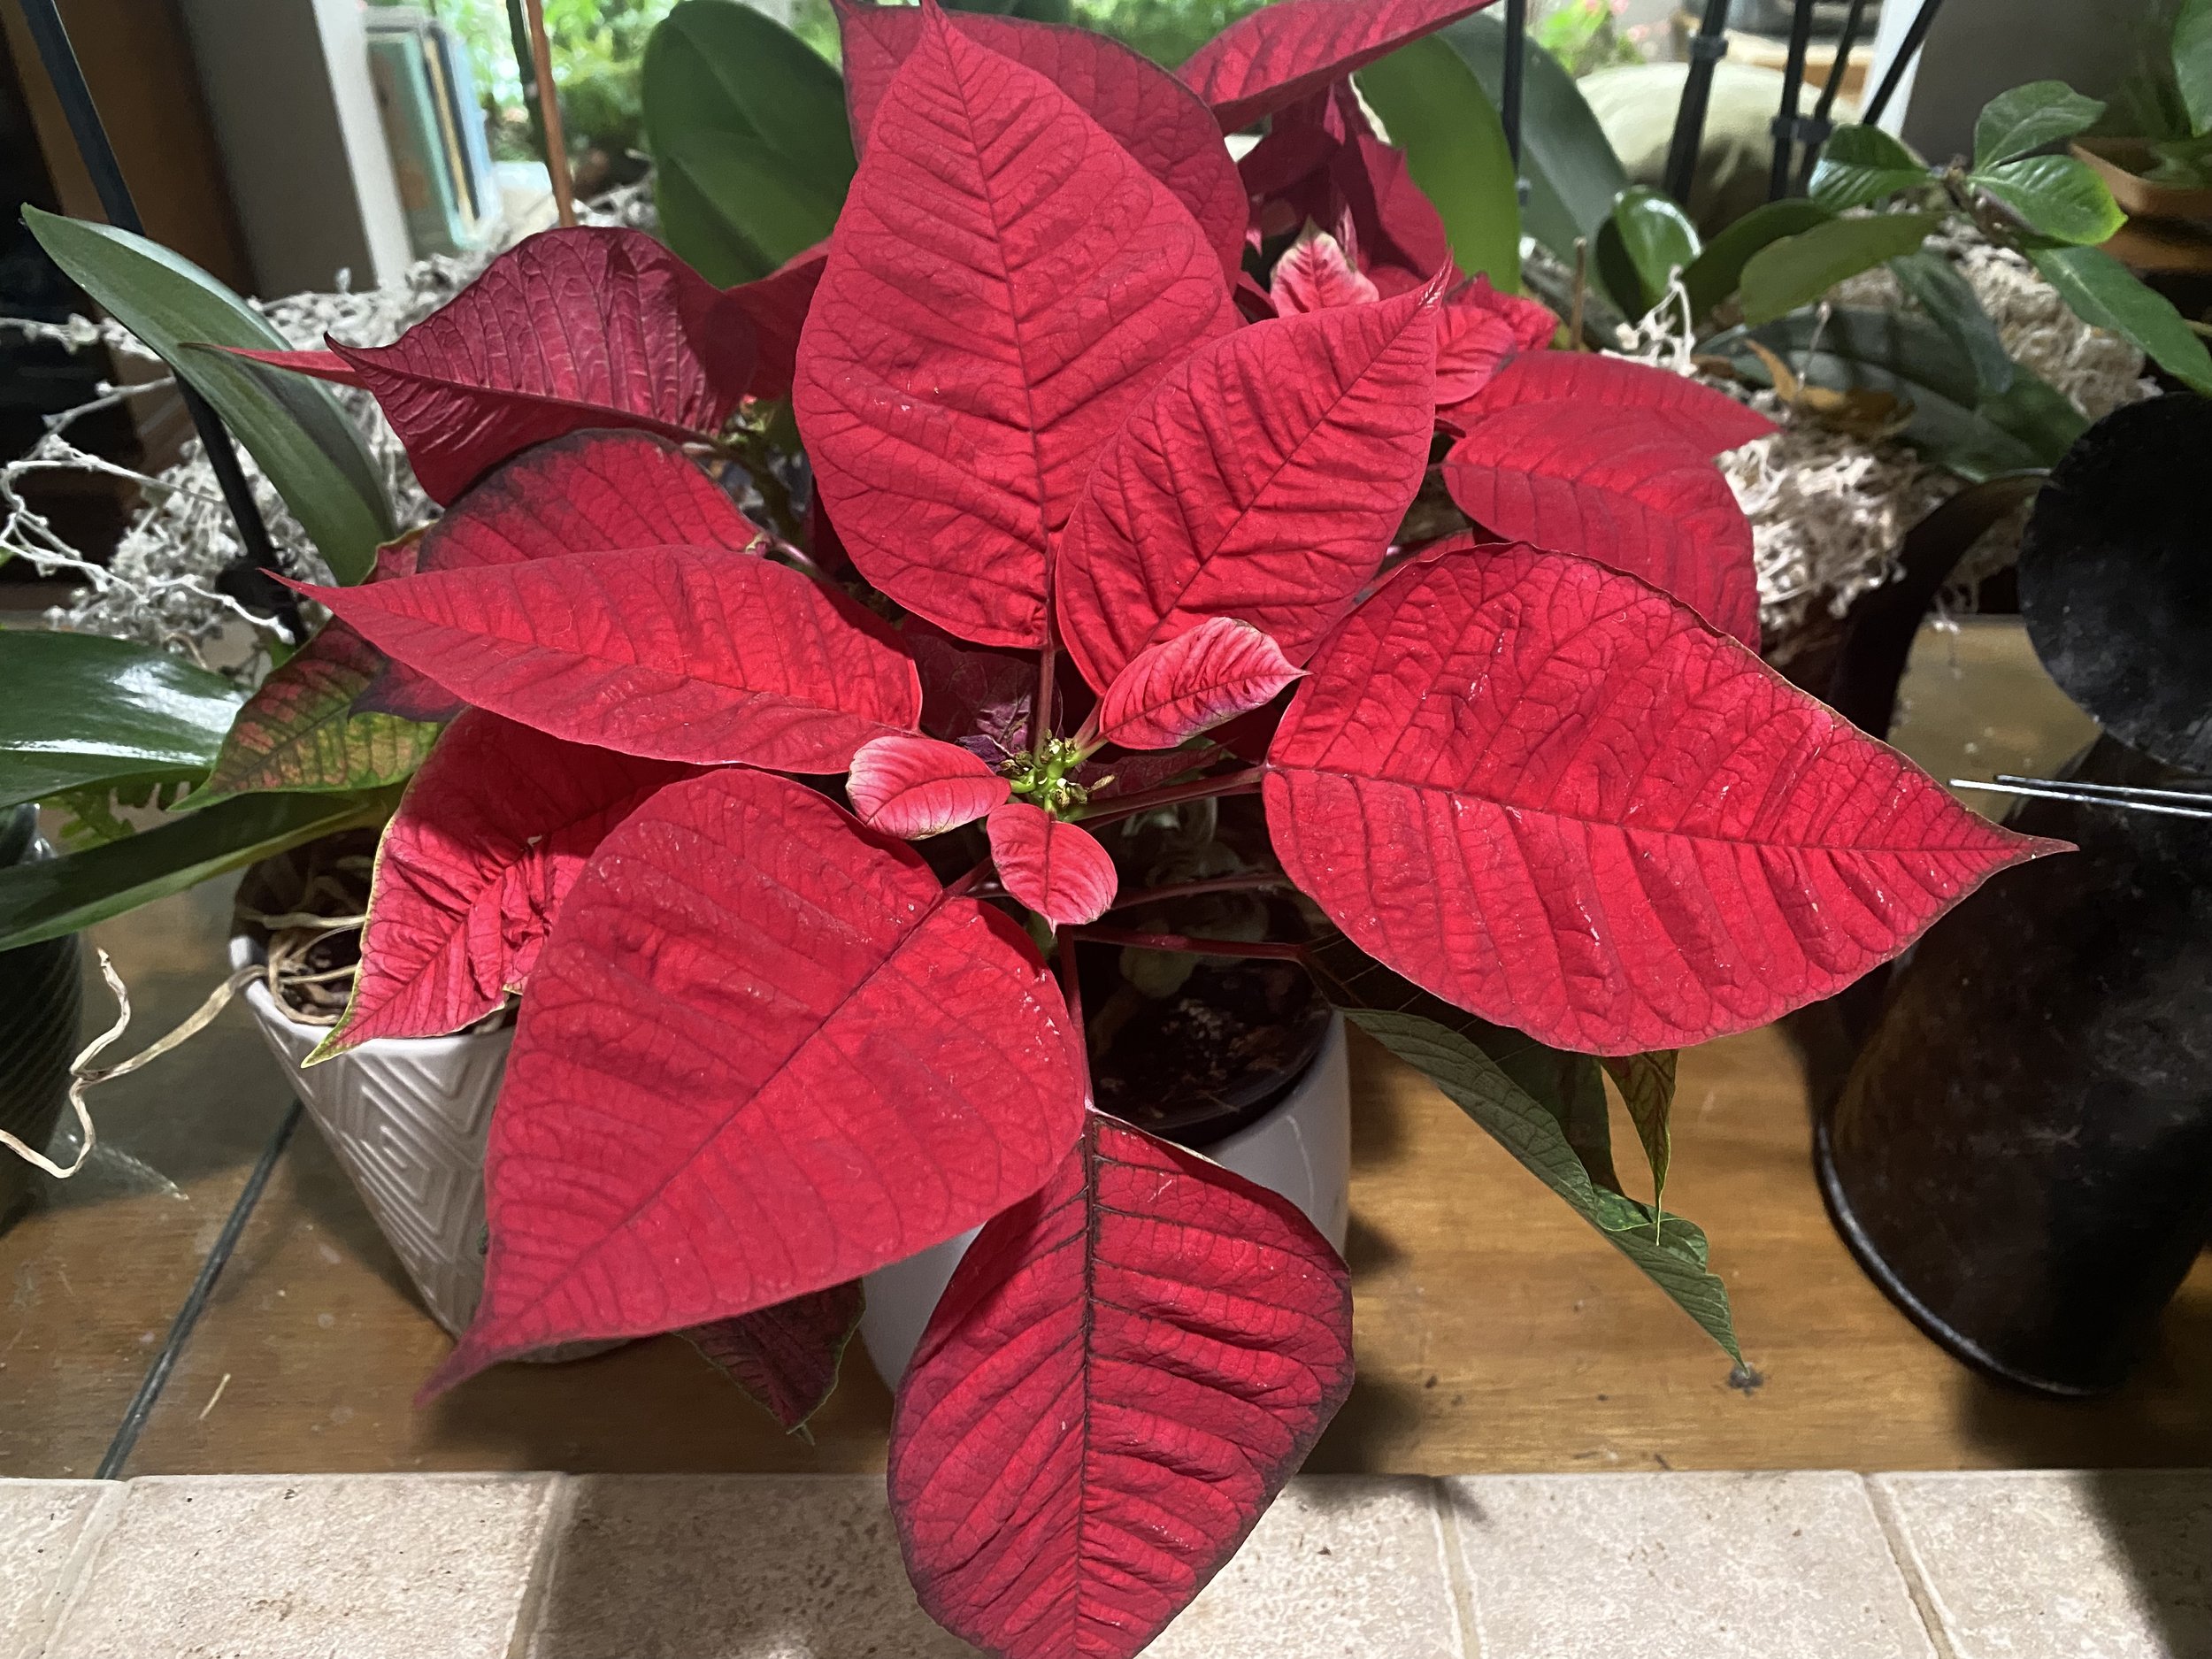
Pick a favorite theme and work off the colors. (Photo by Charlotte Ekker Wiggins)
Picking Throw Pillows
I forget what well-known designer said it but someone recently was quoted as saying solid color throw pillows are a sign of laziness.
Well, unless you’re buying the same patterned pillow, trying to collect interesting complimentary throw pillows can be a challenge. Or an adventure, depending on your point of view.
The advantage of collecting different complimentary pillows is that it quickly adds interest to a chair and sofa. The disadvantage is that it can take a little time and treasure hunting.
To start, I pick a throw pillow I really like. I found the outdoor bird pillow in the photo for my deck at a local sale. The colors are complimentary to the outside rug and the theme is a personal favorite.

My outdoor deck with a few extra pillows tucked under the table. (Photo by Charlotte Ekker Wiggins)
I took a picture of the pillow and had it handy whenever I ran across other pillows.
A few weeks later, I found the outdoor throw pillow with the single bluebird. It’s not a perfect match but it is complimentary in colors, which means they look good next to each other in the deck chairs. And the bluebird theme is a personal favorite.
I’m good with these two bird-themed pillows for the deck. I have a few solid color outdoor pillows for when I need to add seating. I keep a couple of the solid outdoor pillows tucked under the deck table. I want it to be inviting and comfortable, not a place to collect pillows.
The end of the season is also a good time to shop for outdoor throw pillows on sale. Take a photo of one you like and have fun finding throw pillows that make you smile!
Charlotte