Magnetic Book Marks

Magnetic Book Marks

I’ve included magnetic book marks over the years in most of my gift books. Sometimes I use photos, the favorite book mark, as well as a holiday cards.

You probably already have possible book marks at home but you may need to buy the magnetic strips.

You will need:

  • Cardboard, either new stock or re-use holiday and birthday cards.

  • Magnet strips, available at most craft stores. You can also re-use magnet strips from other projects.

  • Different-colored marking pens.

  • Magazine cut-outs, copies of favorite photos, stickers.

  • Paper glue.

  • Paper scissors.

To make:

Cut cardboard into 4x1.5 inch cardboard strips. You can make them bigger or smaller as long as it is a rectangle.

Fold so one side is slightly smaller than the other. Decide whether to attach at the top of the page or to the right side.

Decorate the smaller size with a photo or design. Decorate the larger side with a dedication and signature.

Cut magnet strip into two pieces. Remove backing. Glue magnet inside the shorter size; glue the other magnet to the first piece, then fold cardboard to the second magnet so both magnet pieces match. Allow15 minutes to dry.

Apply to a book, or a gift book, as page markers or give all by themselves as handmade gifts.

I made myself a few out of cards and use them every day!

Charlotte

How to Dry Catnip

Shirley Honey volunteers to quality check the latest fresh catnip batch. (Charlotte Ekker Wiggins phtoto)

How to Dry Catnip

It seems early to think about Christmas but if you make gifts for cats, this is the time to get that homegrown catnip dried.

Catnip is a perennial herb that, when dried, most cats love. Catnip also makes a nice winter tea.

To pick the catnip at the best time, you want it before it starts generating flowers, that’s when the catnip will be strongest.

It’s time to dry catnip for winter tea and handmade cat gifts. (Photo by Charlotte Ekker Wiggins)

You can dry just the catnip leaves or leave the stems on to dry.

I also leave a separate patch of catnip to flower since bees love it. See the tiny flower heads on the top?

Cut catnip before it blooms to retain its strongest flavor. (Photo by Charlotte Ekker Wiggins)

How to Dry Catnip

Cut the catnip stalks about 4 inches from the bottom. Catnip stalks, like most mints, will have square hollow stalks.

Carefully remove leaves. Only use leaves from plants that haven’t been treated with pesticides or other chemicals.

Place catnip leaves in an open weave basket lined with a paper towel or a cotton napkin. You want a container where air can travel through it. Glass and porcelain containers retain moisture.

If you have saved those little silica gel packets that come with shoes and other items, this is the time to use them. Tuck them under the paper towel to help speed up the catnip drying process.

Silica gel packets will help speed up the catnip-drying time. (Photo by Charlotte Ekker Wiggins)

You want the catnip leaves sitting on top of the paper towels. The paper towels will help absorb moisture as the leaves dry out.

Place the basket in a warm spot. I place my drying baskets on top of my refrigerator.

Turn them every day or so until they are dry.

You can wait to remove plant stalks until after they are dry. (Photo by Charlotte Ekker Wiggins)

If you use cotton napkins, those also make good reusable drying surfaces for catnip.

You can also dry catnip on cloth napkins placed over silica gel packs. (Photo by Charlotte Ekker Wiggins)

Once dry, you can easily remove the dried stalks.

Store in an airtight container for later use.

I also sprinkle cat toy storage containers with the freshly dried catnip to refresh catnip toys.

And those catnip-infused baskets?

I let my cats enjoy playing in them, that helps me to ensure the quality of the dried catnip.

Boo Boo Bartholomew, left, trying to curl up in a small catnip-infused basket. (Photo by Charlotte Ekker Wiggins)

You can also buy dried catnip for homemade toys. Over the years, though, friends and family have told me their cats didn’t like catnip until they tried my toys. I am convinced it is because my toys are made with homegrown fresh catnip.

Christmas is only three months away!

Charlotte

How to Personalize a Gift with Honey

I package my honey in small food grade plastic jars for easy shipping. (Charlotte Ekker Wiggins photo)

How to Personalize a Gift with Honey

Over the years of gift-wrapping and personalized gifts, it gives me pleasure to know people appreciate the extra effort we make to make the gifts special. One of the things I started to include when I have them is small jars of Bluebird Gardens honey.

I don’t always have them so I don’t market them. And when I do, I just sneak a 2 ounce jar or two into a package.

Recently newlyweds sent me a lovely thank you note, not for the personalized quilt that was included but for the honey.

So just a reminder personalizing a gift with a card, with embroidery, with special wrapping paper - can also include adding a jar of local honey. Honey on a frame is different from one side to the next so if you can hand extract honey into small jars you will have different flavors.

If you aren’t a beekeeper you can find local honey at your local farmer’s market. And if you contact a beekeeper about wanting small jars for wedding and party gifts, I am sure they will be glad to help you.

Charlotte

Fabrics N More Store

Fabrics N More, Rolla, Missouri, 2100 North Bishop, is a crafters delight. (Photo by Charlotte Ekker Wiggins)

Fabrics N More Store

Most communities have a variety of retail stores and one of the most sought-after for quilters and crafters is a fabric store. Luckily for me, our mid-Missouri small college town has a gem of a store in Fabrics N More at 2100 North Bishop, behind Big O Tires off Highway 63 North.

Open Mondays, Tuesdays and Fridays from 11 am. to 3 p.m., the store carries a nice range of fabrics from 100% cottons quilters love to fleece, flannels and specialty patterns. Since I buy Bluebird Gardens custom quilt fabrics from the same supplier, I can attest to the fabric’s high quality and good pricing.

For those just starting to learn how to select fabrics, Shelley Gregory notes the fabric’s manufacturer is listed on the edge of the fabric, along with the name, in case someone is trying to find an extra yard or two to finish a project.

One of the extra bonuses of shopping here is that there are large glass windows nearby so one can more easily match fabric colors by looking at them in natural light. I can’t tell you how many times I picked up a fabric under artificial lighting only to find it was just a tad off when I got it home.

Fabrics N More Store Owner Shelley Gregory also offers quilting services. (Photo by Charlotte Ekker Wiggins)

Shelley and her brother Gary opened the store many years ago. In addition to a wide variety of quality fabrics, Shelley also offers overall pattern quilting services for those wanting to get quilts machine quilted. That’s a great service to have since most quilters who piece their quilt tops don’t actually finish their own quilts by quilting but depend on others for the finishing steps.

Tables with fabrics have pricing posted in the center. (Photo by Charlotte Ekker Wiggins)

The traditional way to finish a handmade quilt is to use white cotton on the back. For many years, Bluebird Gardens quilts have used other fabric colors on the back to make our custom quilts reversible, giving the quilt a double life. It’s not always easy to find potential quilt backing fabrics so Shelley currently has a selection of patterned floral fabrics that nicely fit the bill.

Today’s find, cotton fabrics perfect for quilt backing. (Photo by Charlotte Ekker Wiggins)

For many beginning quilters, deciding what pattern to put on their first quilts also can be daunting. I’ve listened to Shelley over the years walk a customer through quilting options and make excellent recommendations on what quilting pattern to select.

One of the many overall quilt patterns available. (Photo by Charlotte Ekker Wiggins)

Machine quilting rates are as follows:

Crib $26

Twin $31

Full/queen $41

King $51

California King $56

Hand binding $20

Making a backing $5

Shelley notes to make sure backing is at least 5 inches bigger on all sides so there’s enough fabric to cover the quilt top as it is quilted. The stitching will take up some of those extra inches.

And one more surprise at this favorite fabric store of mine, Shelley carries a wonderful supply of embroidery thread. She said she bought out some other store inventories to keep her supply nicely stocked. I have a hard time not walking by not one but two sections and slipping a few pieces home with me, just in case.

Another treat, a wonderful source of embroidery thread. (Photo by Charlotte Ekker Wiggins)

So as you get started on Christmas gifts - and maybe are finishing some you started earlier this year - add this fabric store as a go to place to check for fabrics, embroidery floss and quilting. And tell Shelley I sent you!

Charlotte

Fresh Catnip

Catnip is an easy to grow herb cats enjoy fresh or dried. (Photo by Charlotte Ekker Wiggins)

Catnip is an easy to grow herb cats enjoy fresh or dried. (Photo by Charlotte Ekker Wiggins)

Fresh Catnip

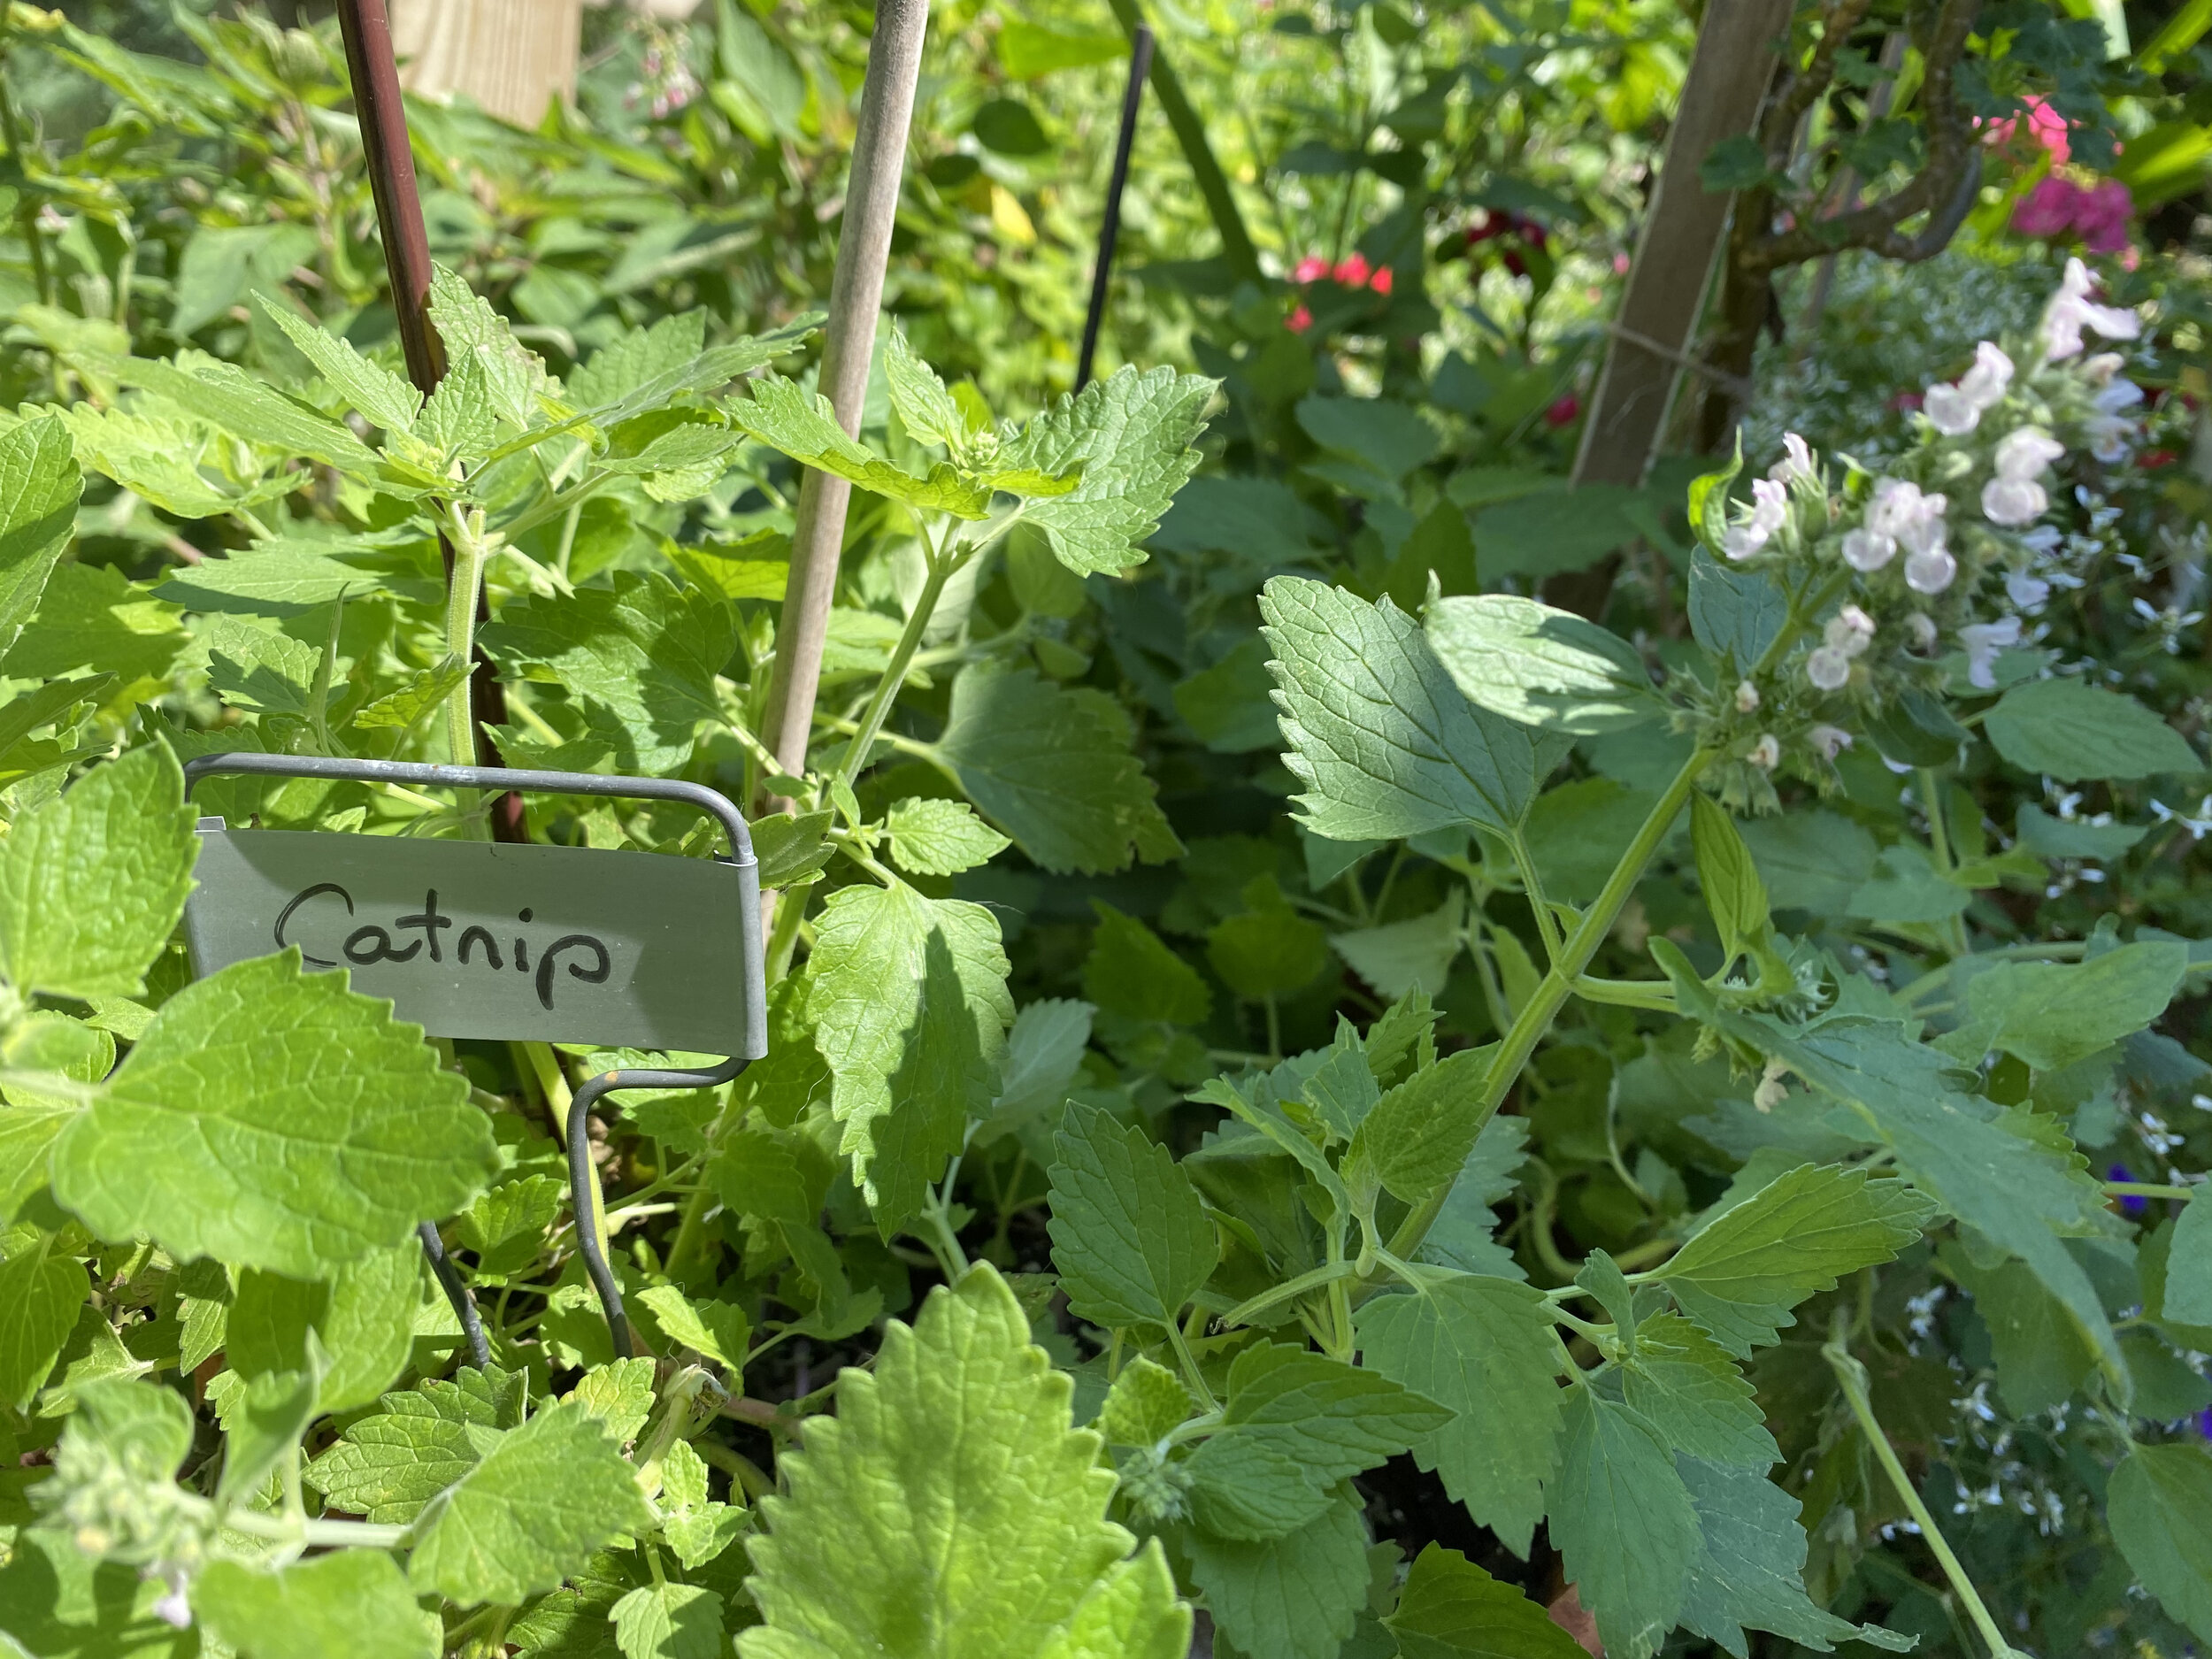
It’s midsummer where I live in the US Midwest. If you haven’t started growing your own fresh catnip to make into gifts, there’s still time. You can either start it from seed or pick up a starter plant from your local home and garden center, I saw some at two home and garden centers earlier today.

Catnip, Nepeta cataria, is a common herb and a member of the mint family. I’ve successfully grown it for years in my limestone hillside garden. It grows in most soils and is easy to grow from either seeds or starter plants.

Effects of Catnip

According to PetMD, about 60% of cats respond to catnip. Cats have an extra scent organ called the vomeronasal gland in the roof of their mouth. This special pathway allows scents that are collected in the nose and mouth to be carried to the brain.

Nepetalactone is the oil that’s found within the catnip plant’s leaves that can cause behavioral changes in cats. Catnip scent mimics feline sex hormones, so cats enjoying this substance will often display behaviors similar to a female cat in heat. Both male and female cats can experience the effects.

With dry catnip, cats may show overt signs of affection, relaxation, and happiness. Other cats will display active behaviors, such as playfulness and sometimes even aggression. For cats that have a positive experience with catnip, it can help reduce anxiety and even relieve pain. Some veterinarians have recommended using catnip to help with separation anxiety if a cat will be home alone for an extended period of time.

Quality Field Testing

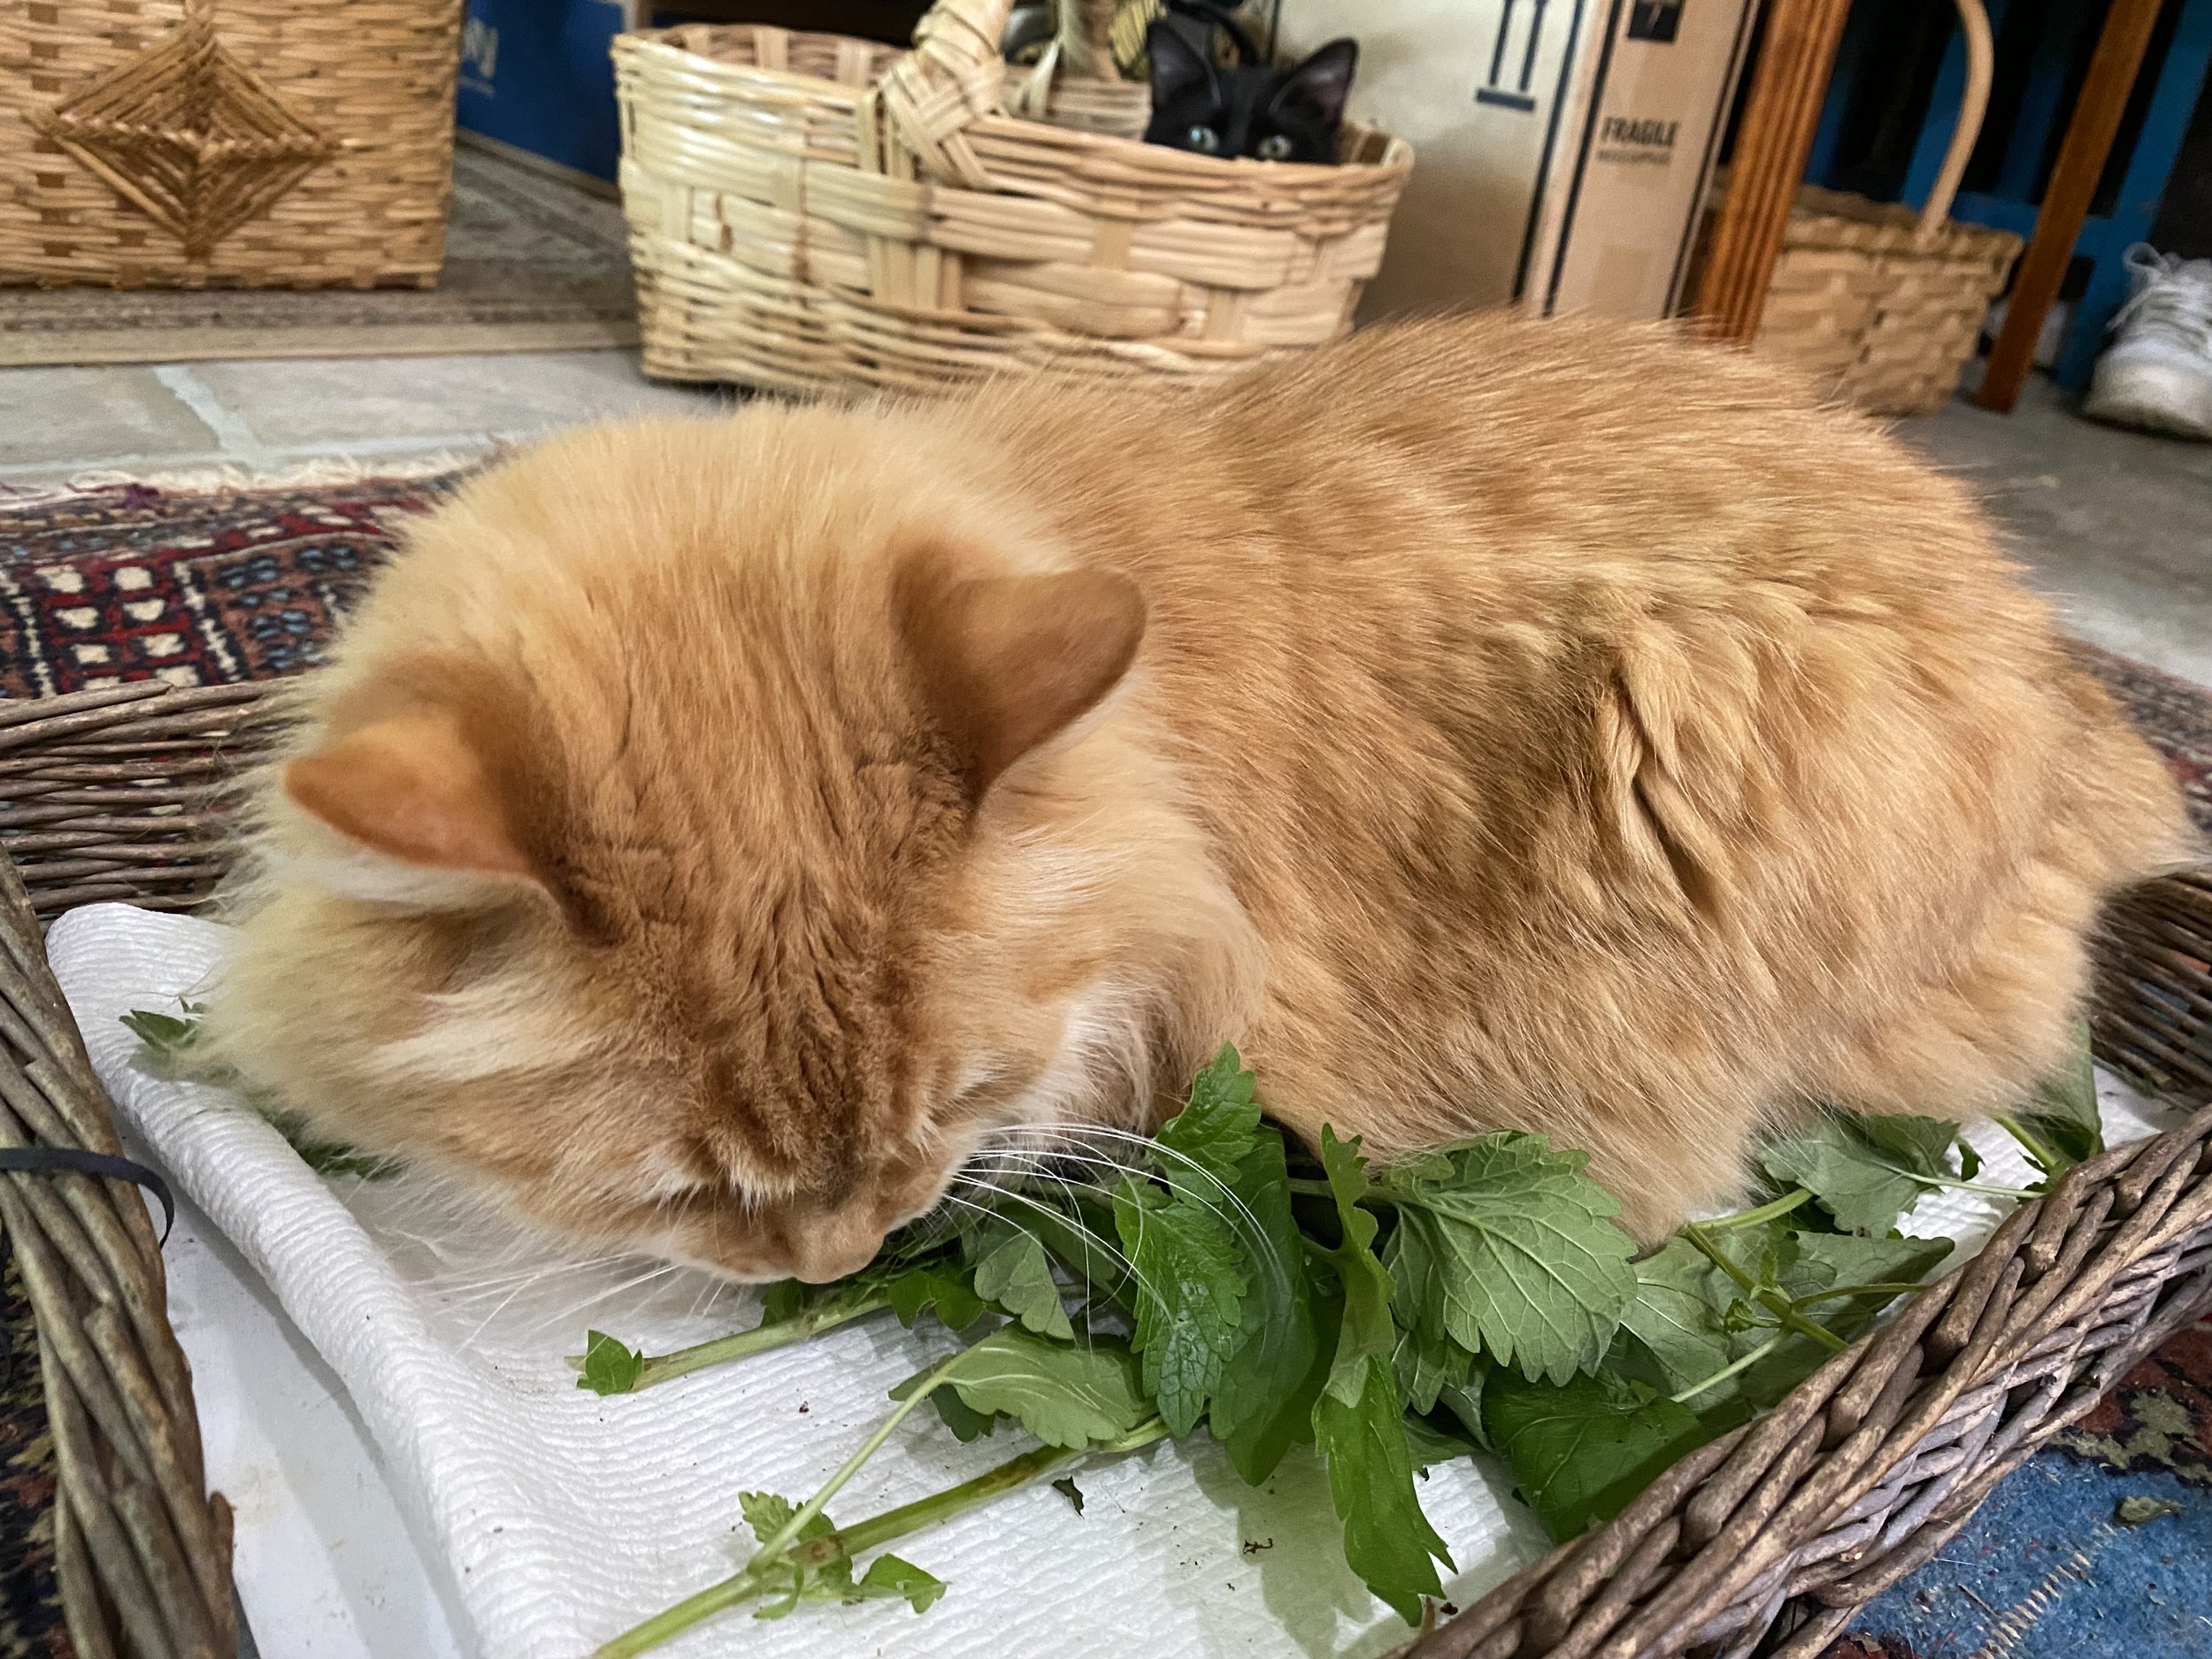
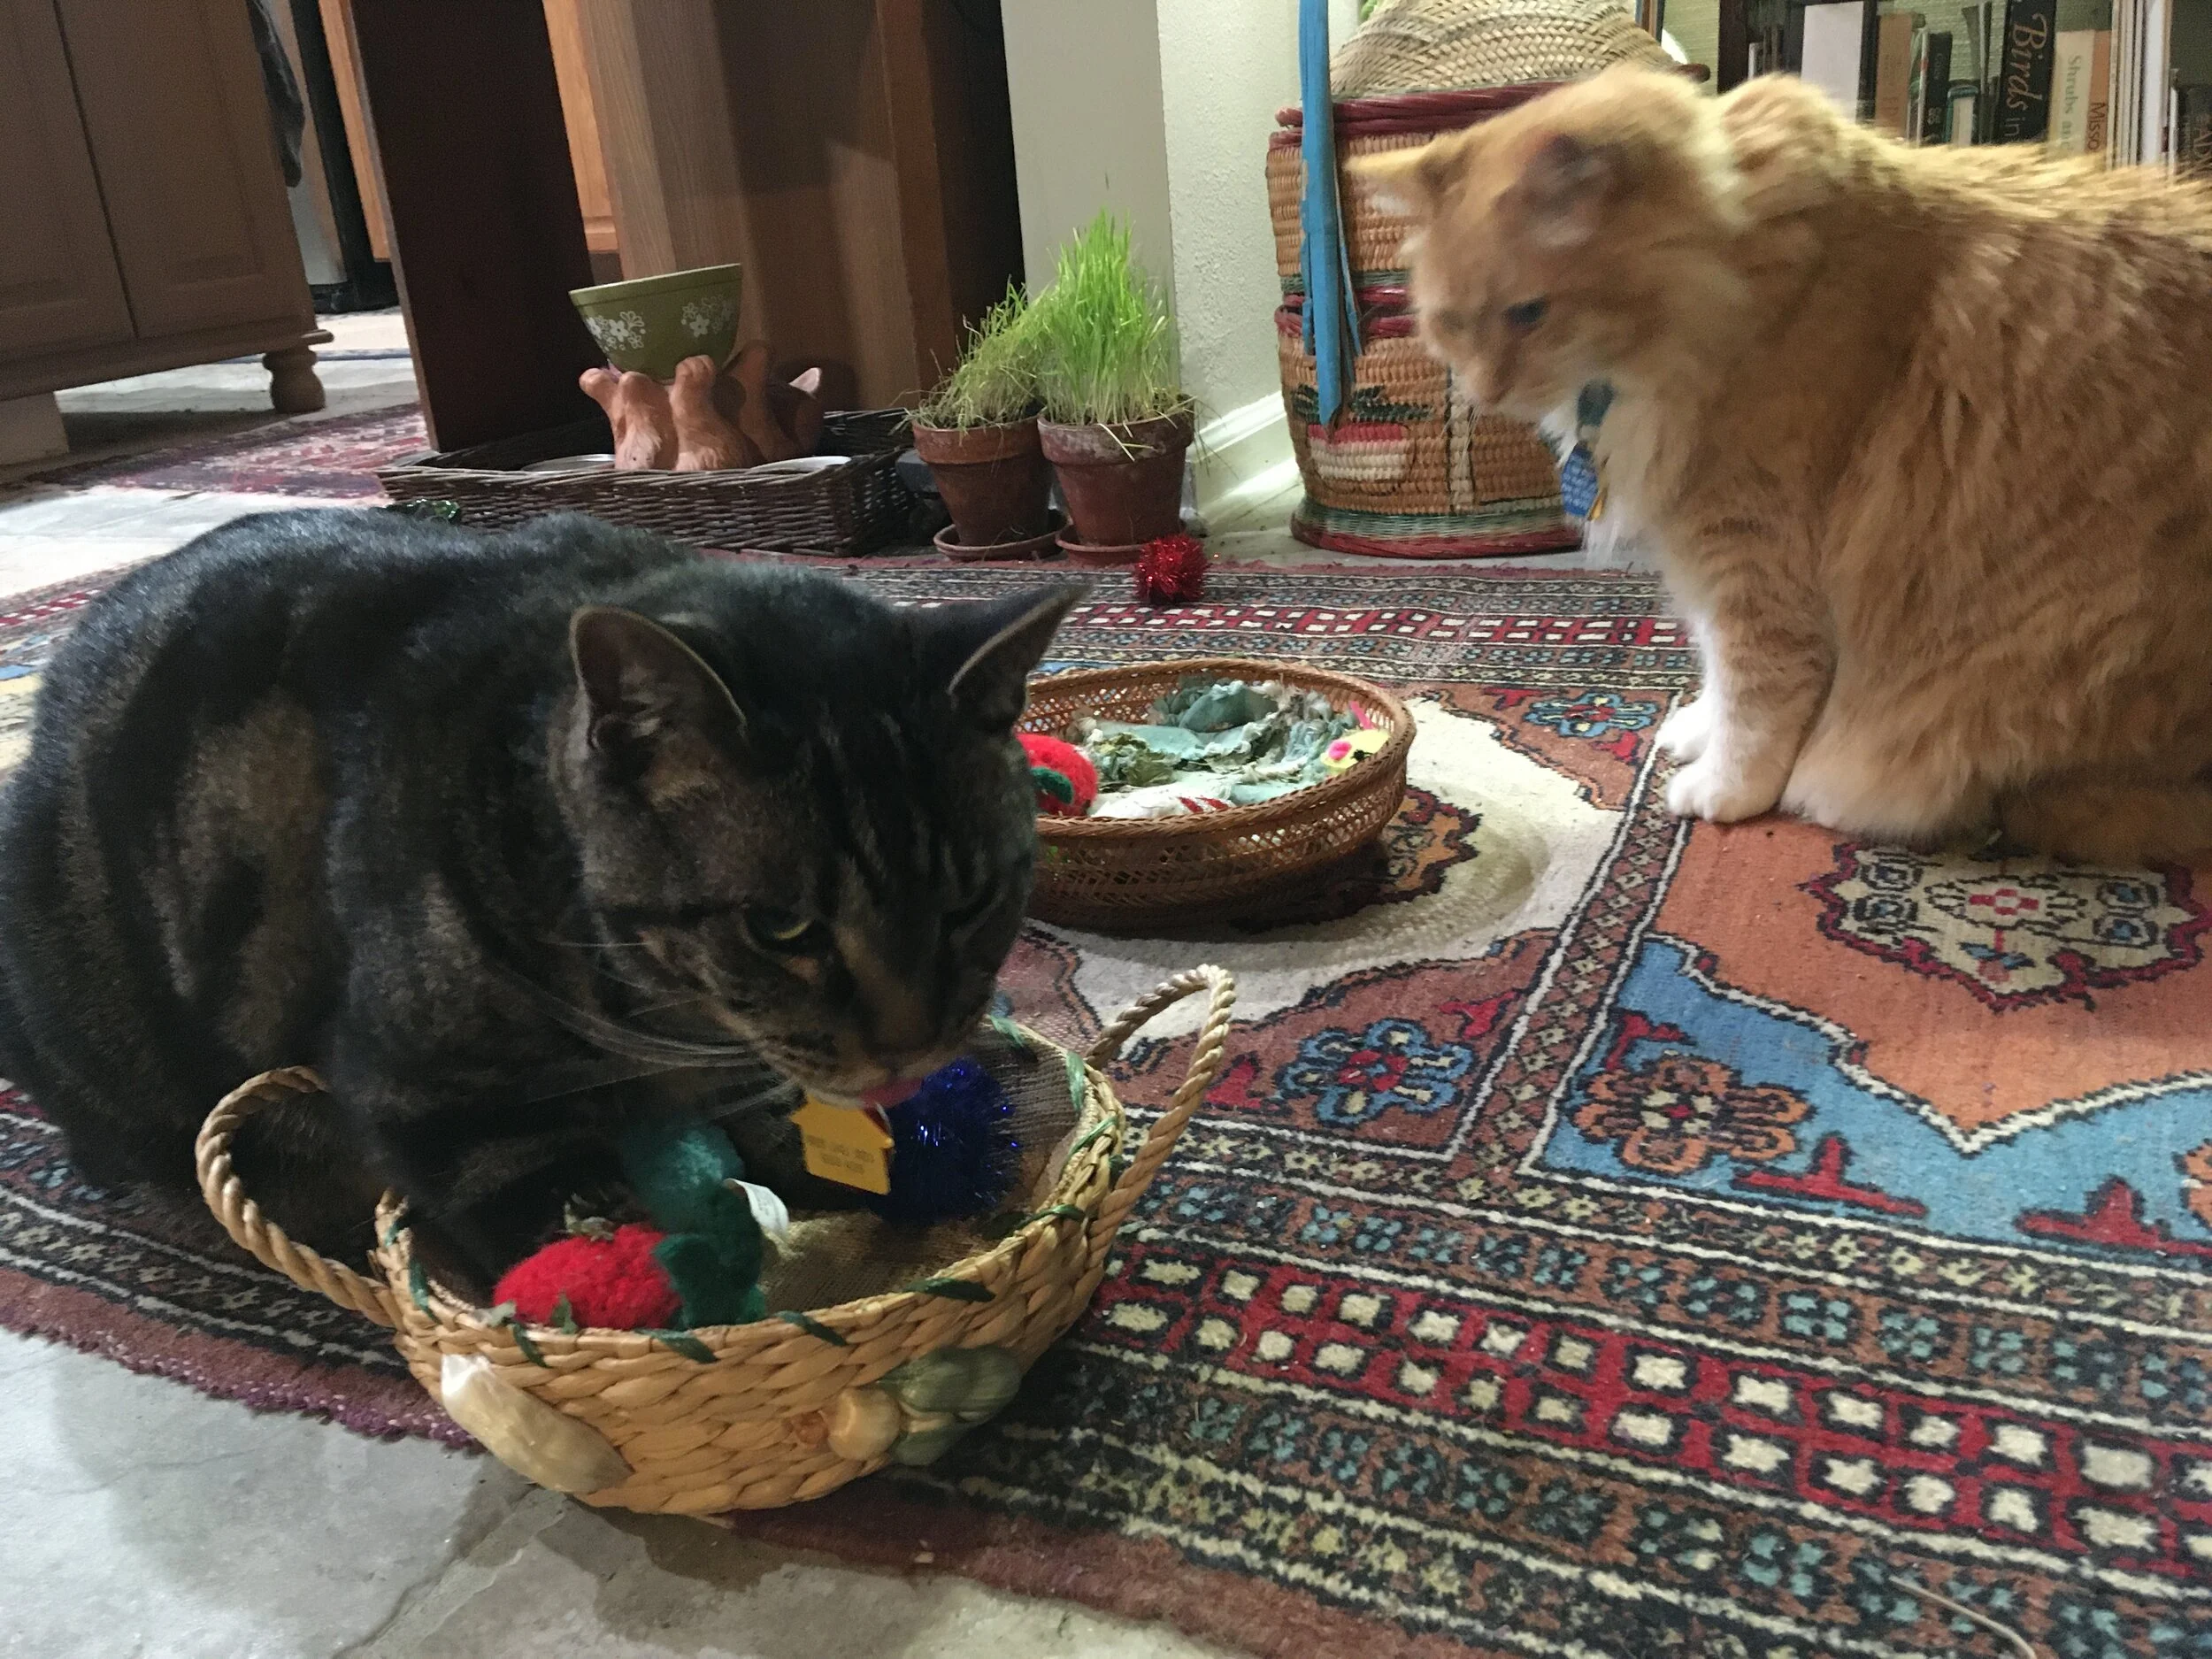
All of my cats have enjoyed dried catnip over the years. They seem to know which are homemade toys with dry catnip and which ones are store-purchased. They also like to roll in the catnip drying basket so I keep it high and off the ground.

With fresh catnip, they have developed a taste for a tiny spring or leaf every day. Once they have their treat they seem relaxed and settle into a morning nap, the inspiration for my sleeping cats quilt design.

I don’t give them more than a couple of leaves at a time so they don’t get a tummy ache.
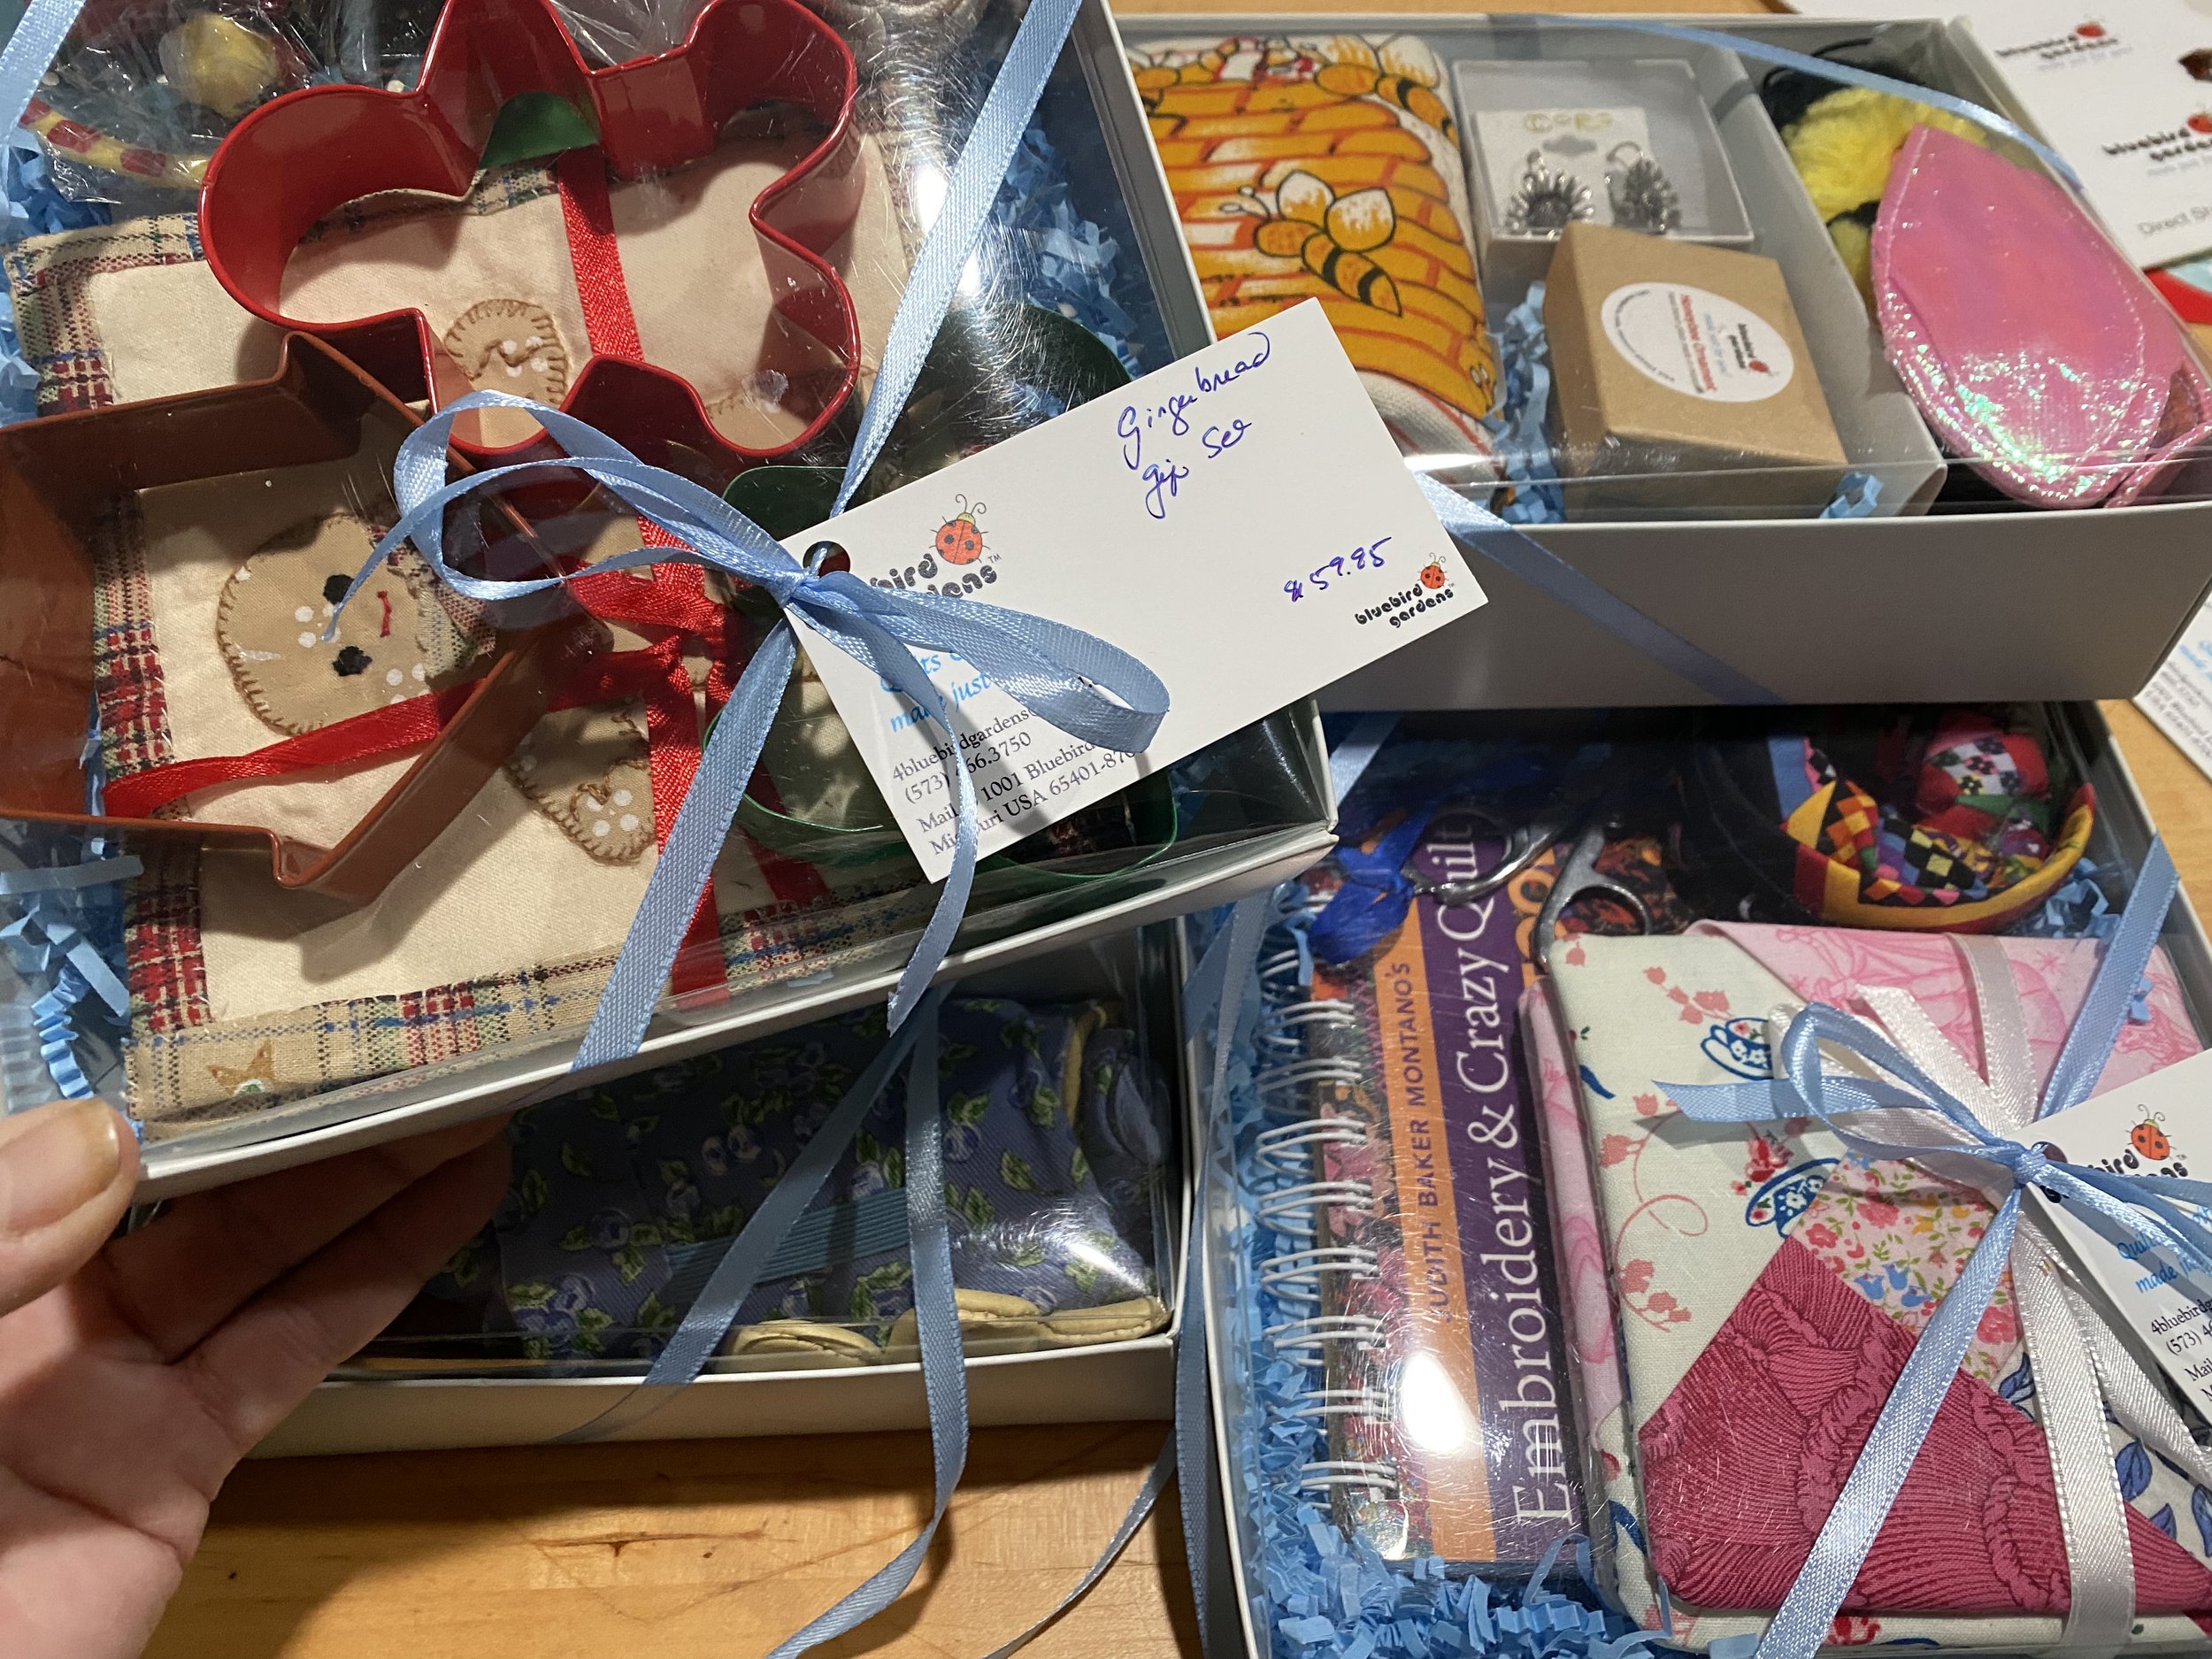
Catnip Gifts

You can buy dried catnip, too but I prefer to raise my own without using any chemicals. I harvest the leaves through spring and dry them in paper-lined baskets over my refrigerator. Once dry, I store the dried leaves in a glass container for later use.

Interestingly enough, I learned a few years back that bees also love catnip so I am encouraging any and every plant to grow wherever it settles. I harvest leaves before it flowers to get the strongest catnip, then the bees get the flowers. Once the flowers turn to seed, they then will grow more catnip plants. I haven’t had much luck so far timing trying to collect the seeds before they get naturally dispersed.

James A. Mess, top, and Etta Girl, bottom, enjoy a fresh catnip sprig daily. (Photo by Charlotte Ekker Wiggins)

James A. Mess, top, and Etta Girl, bottom, enjoy a fresh catnip sprig daily. (Photo by Charlotte Ekker Wiggins)

Catnip leaves have also been used to make tea, and the flowers are said to relieve coughs. It’s also a main ingredient in some natural bug sprays. 

Catnip Gift Ideas

If you have several plants started, you can pot each plant for a gift to another catnip-loving plant. When planted outside, they are perennials so they will come back from year to year.

Once dry, you can make small jars of dried leaves as gifts. Add a tag explaining what it is and how to use it. Every Christmas I make felt toys full of dry catnip for friends and family. If your cats don’t respond to store-purchased catnip toys, try freshly-dried catnip and see if their reaction changes. Many store toys have old dry catnip that has lost its scent.

This winter I am going to try to winter the catnip pot over inside, maybe in a hanging basket. We all know that poor catnip plant will not safely make it inside if if I keep it low to the ground and within easy paw reach!

Charlotte

Sweet Gift Kits

Hand-embroidered kitchen towels get a couple of honey samples to sweeten the gift. (Photo by Charlotte Ekker Wiggins)

Hand-embroidered kitchen towels get a couple of honey samples to sweeten the gift. (Photo by Charlotte Ekker Wiggins)

Sweet Gift Kits

The customer wrote on her order form that this set of hand-embroidered kitchen towels were going to her best friend. She wanted the towels gift-wrapped and shipped directly to her best friend with a lovely card telling her how much she was loved.

Now that I have a working apiary, I keep a supply of small honey containers ready to include in these special custom gifts. In this case, I had small containers of honey and creamed honey so I added one of each. I also included a small wooden honey dipper.

If you want to make your own sweet gift kits, you will find some of these small Bluebird Gardens honey containers at Three Sisters Resale and Consignment at 713 Pine Street, downtown Rolla. Along with the various sizes of honey containers, you will also find wooden honey dippers, buzzing toy bees, a beekeeper’s gift kit and even a copy of my autographed book “A Beekeeper’s Diary Self-Guide to Beekeeping” so you can make your own sweet gift kits.

Three Sisters Resale and Consignment honey and gift display. (Photo by Charlotte Ekker Wiggins)

Three Sisters Resale and Consignment honey and gift display. (Photo by Charlotte Ekker Wiggins)

What’s even better is that you may find just the right gift items to go in your custom sweet gift kits. Krista keeps a supply of baskets you can fill to make a custom sweet gift kit from her collection of new and vintage items.

With Mother’s Day, Father’s Day and Grandparent’s Day coming up, stop by to find custom gifts for your loved ones to make your own sweet gift kits. She will have a vintage day in June and has new items coming in daily.

Three Sisters Resale and Consignment, 713 Pine Street, Rolla, Missouri. (Photo by Charlotte Ekker Wiggins)

Three Sisters Resale and Consignment, 713 Pine Street, Rolla, Missouri. (Photo by Charlotte Ekker Wiggins)

If this is the first time you are making your own sweet gift kits, try finding something fun, something practical and something delicious:

  • A porcelain teacup and saucer with a variety of teas, honey and a spoon, and a fun book to read.

  • Kitchen towels with a vintage cookbook and jar of honey.

  • A lovely book of photos with a coffee cup and jar of honey.

You can find interesting items at Three Sisters Resale and Consignment and make your own!

Charlotte

Last Minute Gift Idea

A good friend gave me this lovely bee skep ornament this year. (Photo by Charlotte Ekker Wiggins)

A good friend gave me this lovely bee skep ornament this year. (Photo by Charlotte Ekker Wiggins)

Last Minute Gift idea

Ever since early December, the emails and calls have been coming in from last minute shoppers wanting help with their gift giving. Maybe this year more than in previous years we want our gift giving to be comforting and hopeful.

So what to give if you have put off buying something to the last week before Christmas, or need to pick something up for someone at the last minute?

One of my all-time favorite gifts, whether you put off getting it until the last few days of Christmas or not, are Christmas tree ornaments. Especially ones that have a special meaning to the receiver.

It may be a little challenging to order it online at this point so look to your local retailers for possibilities. Antique and thrift stores usually have a nice interesting selection, as do pharmacies, home and garden centers and pet shops.

For a newlywed couple, give them a half dozen ornaments that mark the beginning of their lives together: a house ornament is a good place to start.

For that relative with a new baby, first baby’s Christmas ornament is a favorite addition to any tree. One of my friends gave her son one ornament a year that represented something special that year as he was growing up. When he finally married, he had a nice collection of ornaments for his first Christmas tree as a married couple.

Don’t forget the pets, an ornament marking who they are can become a favorite.

To make this a family activity and gift, shatterproof tree ornaments are readily available at most retailers. Let kids decorate them with magic markers, glitter and their own designs. This would work well for your own family Christmas tree.

Remember to date the ornaments on the bottom before giving so the receiver will have a little help later remembering what year the personalized ornament joined the others.

And as far as the bee skep ornament, it was a gift from a good friend and beekeeper. And I can personally attest to it as a gift, I love it!

Charlotte

How to Get It There by Christmas

Helps to look at the calendar to get the best estimate of shipping dates. (Photo by Charlotte Ekker Wiggins)

Helps to look at the calendar to get the best estimate of shipping dates. (Photo by Charlotte Ekker Wiggins)

How to Get It There by Christmas

To no one’s surprise, this year’s holiday shipping season is also very different from past years. In addition to a temporary price increase over the holidays, most of the shipping companies are suggesting the earlier you ship, the better.

To make sure your packages arrive before December 25th, here's when US Postal Service recommends you ship by:

  • First Class Package: Ship by December 18th.

  • Priority Mail: Ship by December 19th.

  • Priority Mail Express: Ship by December 23rd.

  • Media Mail & Parcel Select Ground: Ship by December 15th.

Keep in mind these are delivery estimates, not guarantees.

Frankly I have all of my personal packages, and Christmas cards, shipped. With the package traffic up by a good 30% this year, I want to make sure my packages and cards arrive on time.

For customers looking to ship something after December 10, I recommend shipping overnight fully realizing “overnight” does not mean next day, it could take 2-4 days for it to arrive at the destination.

One option is to take a picture of the item you want, put it in an envelope under the tree and order it after the holidays. Not as much fun as having it under the tree but it is an option especially if you want to make sure the colors are correct.

Charlotte

Dry Catnip

It’s time to dry catnip for winter tea and handmade cat gifts. (Photo by Charlotte Ekker Wiggins)

It’s time to dry catnip for winter tea and handmade cat gifts. (Photo by Charlotte Ekker Wiggins)

Dry Catnip

It seems early to think about Christmas but if you make gifts for cats, this is the time to get that homegrown catnip dried.

Catnip is a perennial herb that, when dried, most cats love. Catnip also makes a nice winter tea.

To pick the catnip at the best time, you want it before it starts generating flowers, that’s when the catnip will be strongest. That’s about this time of year where I live in USDA Hardiness zone 5.

I also leave a separate patch of catnip to flower since bees love it. See the tiny flower heads on the top?

Cut catnip before it blooms to retain its strongest flavor. (Photo by Charlotte Ekker Wiggins)

Cut catnip before it blooms to retain its strongest flavor. (Photo by Charlotte Ekker Wiggins)

How to Dry Catnip

Cut the catnip stalks about 4 inches from the bottom. Catnip stalks, like most mints, will have square hollow stalks.

Carefully remove leaves. Only use leaves from plants that haven’t been treated with pesticides or other chemicals.

Place catnip leaves in an open weave basket lined with a paper towel or a cotton napkin. You want a container where air can travel through it. Glass and porcelain containers retain moisture.

If you have saved those little silica gel packets that come with shoes and other items, this is the time to use them. Tuck them under the paper towel to help speed up the catnip drying process.

Silica gel packets will help speed up the catnip-drying time. (Photo by Charlotte Ekker Wiggins)

Silica gel packets will help speed up the catnip-drying time. (Photo by Charlotte Ekker Wiggins)

You want the catnip leaves sitting on top of the paper towels. The paper towels will help absorb moisture as the leaves dry out.

Place the basket in a warm spot. I place my drying baskets on top of my refrigerator.

Turn them every day or so until they are dry.

You can wait to remove plant stalks until after they are dry. (Photo by Charlotte Ekker Wiggins)

You can wait to remove plant stalks until after they are dry. (Photo by Charlotte Ekker Wiggins)

If you use cotton napkins, those also make good reusable drying surfaces for catnip.

You can also dry catnip on cloth napkins placed over silica gel packs. (Photo by Charlotte Ekker Wiggins)

You can also dry catnip on cloth napkins placed over silica gel packs. (Photo by Charlotte Ekker Wiggins)

Once dry, you can easily remove the dried stalks. Store in an airtight container for later use. I also sprinkle cat toy storage containers with the freshly dried catnip to refresh catnip toys.

And those catnip-infused baskets?

I let my cats enjoy playing in them, that helps me to ensure the quality of the dried catnip.

Boo Boo Bartholomew, left, trying to curl up in a small catnip-infused basket. (Photo by Charlotte Ekker Wiggins)

Boo Boo Bartholomew, left, trying to curl up in a small catnip-infused basket. (Photo by Charlotte Ekker Wiggins)

You can also buy dried catnip for homemade toys. Over the years, though, friends and family have told me their cats didn’t like catnip until they tried my toys. I am convinced it is because my toys are made with homegrown fresh catnip.

Christmas is only six months away!

Charlotte

Homemade Face Masks

Reversible homemade face masks with filters. (Photo by Charlotte Ekker Wiggins)

Reversible homemade face masks with filters. (Photo by Charlotte Ekker Wiggins)

Homemade Face Masks

The Centers for Disease Control and Prevention now recommends wearing basically a face mask when coming in contact with others when, for example, grocery shopping.. With predictions that COVID 19 will peak in Missouri mid May, I decided to make a few face masks.

There are a lot of patterns making the rounds, from red bandanas with hair ties to ones with replaceable filters. I decided to tackle a reversible, reusable one with replaceable filters and here it is.

To make, I washed purple quilter’s cotton in hot water to shrink the cotton fibers. Quilter’s cotton is one of the best cottons to use because the fibers are tighter. Once washed, I dried in a hot dryer, again to tighten the cotton threads, and then ironed it.

For the adjustable nose pieces, I used the small gauge wire I had in my goodies drawer for house projects.

The 1/4 inch elastic was in my sewing supplies.

I did buy the Dupont 9600 furnace filter and Tool Box Shop towels, both recommended in a Business Insider article about household items tested for filtering particles. For a 20x20x1 furnace filter, I cut out 36 face mask filter replacements. Be careful as you remove the filter; I would cut it out of the cardboard frame instead of trying to tear it out. I ripped a corner before I took scissors to it.

Also use a piece of cotton when trying to iron out the furnace filter or you won’t be able to flatten the filter without burning it.

Iron out furnace filters by placing cotton on the filter. (Photo by Charlotte Ekker Wigigns)

Iron out furnace filters by placing cotton on the filter. (Photo by Charlotte Ekker Wigigns)

The Tool Box shop towels come in rolls and can easily be cut from the rolls.

Homemade Face Mask Pattern

After doing some research, I decided to use this pattern from University of Minnesota alum Shannon Williamson. She has degrees in apparel design and medical device innovation. She works as a user experience designer with the cardiovascular group at Medtronic.

While DIY masks are not as effective as surgical or N95 masks* in preventing the spread of COVID-19, some doctors and other health care professionals are wearing them over the top of the higher-tech masks to increase durability. And use of these DIY masks, by lower risk populations, free up N95 masks for health care professionals and others who are at high risk.

Only two patterns, this is for cutting out the filters. (Photo by Charlotte Ekker Wiggins)

Only two patterns, this is for cutting out the filters. (Photo by Charlotte Ekker Wiggins)

“This mask is deliberately more complex than those that are circulating on the Internet,” says Williamson. Her design provides a more secure fit and includes a filter pocket.

She created the design after consulting with everyone from quilters and seamstresses to physicians and engineers. But, she says, it’s important for people not to go out and get supplies in order to create these.

She recommends people use what they have on hand, from unused fabrics to cut-up furnace filters, or even vacuum cleaner bags, for the filter pockets. You will find the pattern and instructions here:

https://twin-cities.umn.edu/news-events/diy-face-masks-during-covid-19

Here’s the reversible mask I made for myself, it’s purple for Easter. (Photo by Charlotte Ekker Wiggins)

Here’s the reversible mask I made for myself, it’s purple for Easter. (Photo by Charlotte Ekker Wiggins)

 Additional Notes

After washing and drying fabric in hot water and hot heat, iron it. All of that heat will make the fabric fibers tighter.

Once you sew the curve edges together, make little cuts along the curve so the fabric will fold better. It’s hard to iron the seams open so this step will help you skip trying to iron the seams open.

I did try a bread tie in the first one and liked the small gauge wire better. Use the bread tie if that’s the only thing you have. Pipe cleaners and floral wire will also work.

To keep the wire in place, I added a little sewn in wing at the end of where the wire ends to make sure it stays in place.

If you are not sure of head size, make fabric ties instead of using elastic. The ties will provide the wearer more flexibility and be more comfortable for long wear.

The furnace filters are easier to insert than the Tool Box Shop towels. Both are easy to breathe through and have been confirmed as filtering a high percentage of virus particles.

Mask liners made from furnace filters and shop vac towels. (Photo by Charlotte Ekker Wiggins)

Mask liners made from furnace filters and shop vac towels. (Photo by Charlotte Ekker Wiggins)

The homemade face masks do look a bit like a bra cup. These masks don’t sit flat on your face, they stand out to allow you room to breathe without getting fabric in your mouth on the intake. At one point I was tempted to make one out of yellow like a duck bill, then came back to my senses.

Don’t forget to make a few extras to share with family. (Photo by Charlotte Ekker Wiggins)

Don’t forget to make a few extras to share with family. (Photo by Charlotte Ekker Wiggins)

You are wondering, though, why purple?

I actually made two different colors. No, make that three. One set was made out of yellow bee fabric, another one was made out of pink fabric for a friend, and then there are these purple ones. Reversible with a solid purple on the other side.

It’s Easter. Purple seems to be a good compromise, not too pastel but still a nod to the season.

Happy Easter and stay well!

Charlotte


Re-Blooming Amaryllis

Apple Blossom Amaryllis bulbs starting to re-bloom late winter. (Photo by Charlotte Ekker Wiggins)

Apple Blossom Amaryllis bulbs starting to re-bloom late winter. (Photo by Charlotte Ekker Wiggins)

Re-Blooming Amaryllis

When you think of late winter flowers, maybe a tree is on our minds but how about these lovely flowers?

You see the bulbs that grow these flowers offered for sale around Thanksgiving and Christmas. Amaryllis are a popular flowering gift and one that people tend to toss after it flowers. I know because I happily adopt bulbs people don’t want any more over the years.

Amaryllis can re-bloom with a little care and patience, and they are well worth the effort.

Amaryllis are South American cousins to the North American Surprise lilies. Surprise lilies grow the green leaves first; the leaves die back and then the flower stalk shows up mid-July, blooming on naked stems. In Missouri, these lovely pink flowers are also called naked ladies.

The flowering “energy” is stored in the bulbs. To get Amaryllis to re-bloom, the idea is easy: they have to recharge their bulbs.

Surprise lilies, the North American cousins to Amaryllis. (Photo by Charlotte Ekker Wiggins)

Surprise lilies, the North American cousins to Amaryllis. (Photo by Charlotte Ekker Wiggins)

One of the big mistakes people make is planting the bulb too deep. Amaryllis bulbs need to have roots in soil but the bulb sitting on top. My bulbs have at most the bottom half in soil.

Amaryllis bulbs need to sit on soil with the roots buried. (Photo by Charlotte Ekker Wiggins)

Amaryllis bulbs need to sit on soil with the roots buried. (Photo by Charlotte Ekker Wiggins)

The roots also need to get moisture. To make sure the roots are kept hydrated, I have a plastic bottle full of holes sitting in the middle of the large pot. This helps ensure the water gets evenly distributed through the soil.

Buried plastic bottles with holes keep soil hydrated. (Photo by Charlotte Ekker Wiggins)

Buried plastic bottles with holes keep soil hydrated. (Photo by Charlotte Ekker Wiggins)

Once an Amaryllis finishes blooming, long leaves will grow out of the bulb. Keep those leaves well-watered and fertilize the bulbs until the leaves die back.

The leaves will turn sunlight into sugars which are stored in the large flower bulb.

Amaryllis bulb leaves will recharge bulbs. (Photo by Charlotte Ekker Wiggins)

Amaryllis bulb leaves will recharge bulbs. (Photo by Charlotte Ekker Wiggins)

Once the leaves die, let the bulbs “rest’ for a couple of months without watering. I mark my kitchen calendar when the leaves have died back and periodically check to make sure it’s not too dry.

At this point, the bulbs can be stored in a cool place but no colder than 50F. I just leave them in their pots until I am ready to get them blooming again. Then I either repot or just start watering. When I see the tips of the flower buds coming out of the bulbs, I know the plant is re-blooming. I then move them to where I can enjoy the flowers.

Amaryllis will do best in indirect sun while they bloom.

Several re-blooming Apple Blossom Amaryllis bulbs. (Photo by Charlotte Ekker Wiggins)

Several re-blooming Apple Blossom Amaryllis bulbs. (Photo by Charlotte Ekker Wiggins)

The Amaryllis in the photo is an Apple Blossom. I have 8 Amaryllis bulbs in the pot, each bulb producing 4 flowers.

Here’s another view showing at least 12 Amaryllis flowers in bloom and more to come. (Photo by Charlotte Ekker Wiggins)

Here’s another view showing at least 12 Amaryllis flowers in bloom and more to come. (Photo by Charlotte Ekker Wiggins)

Once the bulbs finish blooming, the pot will go outside to spend summer on my deck collecting energy into the bulbs through the leaves. I will also keep it fertilized with added compost.

When they come back inside late fall, leaves will still be growing. I will keep watering until the leaves turn yellow.

The leaves of this Apple Blossom Amaryllis bulb collection died back over Christmas. Once the leaves turned yellow, I cut back on watering for a couple of months to give the bulbs a rest.

Some years I dig out the top few inches of soil and give the bulbs new soil without disturbing their settled roots.

Amaryllis flowers make lovely cut flowers, too. (Photo by Charlotte Ekker Wiggins)

Amaryllis flowers make lovely cut flowers, too. (Photo by Charlotte Ekker Wiggins)

If you can’t place the Amaryllis in a pot where you can enjoy it, Amaryllis flowers can be cut and enjoyed in a flower vase.

Amaryllis will make new bulbs and keep growing year to year if you give them the right growing conditions.

This is the same Apple Blossom Amaryllis bloom from the top now mature. (Photo by Charlotte Ekker Wiggins)

This is the same Apple Blossom Amaryllis bloom from the top now mature. (Photo by Charlotte Ekker Wiggins)

These bulbs are so easy to grow. I love having mine but if you want to get rid of yours, you know where to find me!

Charlotte

Homemade Flower Catnip Toys

Finished homemade flower catnip toys ready for gift-giving. (Photo by Charlotte Ekker Wiggins)

Finished homemade flower catnip toys ready for gift-giving. (Photo by Charlotte Ekker Wiggins)

Homemade Flower Catnip Toys

Every Christmas for a number of decades now, I make homemade catnip toys for the cats in my life. Some live with my brothers, others are with friends. And then I live with two cats that couldn’t imagine opening their Christmas stockings without finding fresh catnip toys in them.

Seems a little early to be talking about homemade catnip toys, doesn’t it. Well, it isn’t because you need to plan ahead. First step, plant the catnip this spring. I grow not only my own but one of my cats enjoys eating the fresh leaves when I bring a sprig inside.

Catnip is a perennial herb so once you plant it, it should come back over the years. Don’t use chemicals oh them and you can easily pick, and dry, for homemade catnip toys.

Homemade Flower Catnip Toys Inspiration

This past year, I made these homemade flower catnip toys out of felt. Buy felt out of season and it will be less expensive than getting jt around Easter and Christmas.

After drying the catnip on top of my refrigerator, I store it in an old coffee container and glass jar so I have it ready to use.

The dried catnip goes t into the circular flowers after the yellow centers were sewn on. The stem and leaves are one felt piece.

Easy to make homemade flower catnip toys out of felt. (Photo by Charlotte Ekker Wiggins)

Easy to make homemade flower catnip toys out of felt. (Photo by Charlotte Ekker Wiggins)

If the long stems and leaves are too challenging, just cut out a tiny green leaf that can be added when the flower is stitched closed.

So where is the catnip? You can put it inside the yellow circle or you can sew the larger flower petals together and sneak it between the petals.

You can also make the catnip toy flower with a short leaf. (Photo by Charlotte Ekker Wiggins)

You can also make the catnip toy flower with a short leaf. (Photo by Charlotte Ekker Wiggins)

Store these homemade flower catnip toys in an airtight container with dried catnip. That’s also how you can refresh the toys periodically.

Do cats like them?

I have been making homemade catnip toys for decades and my cats have enjoyed a variety of designs. Even cats that haven’t responded to store purchased catnip have a different reaction to fresh dried catnip.

Shirley Honey even seems to think she can warm her paws on one made for her birthday!

One of my cats seemingly warming her paws on a catnip toy. (Photo by Charlotte Ekker Wiggins)

One of my cats seemingly warming her paws on a catnip toy. (Photo by Charlotte Ekker Wiggins)

You can make these as simply as a felt square that you fill with dried catnip and then tie with a ribbon. Or you can be creative with a different design.

Oh. One more thing. Keep an eye on the cat if you have one, mine have been tempted to “help.” I have lost a number of felt pieces that way!

Charlotte