Handmade Thread Spool Organizer
/
The handmade spool organizer my brother made when he was 9 yrs old. (Photo by Charlotte Ekker Wiggins)
Handmade Thread Spool Organizer
If you do any kind of sewing, you know how hard it is to organize, and keep organized, your spools of thread.
We grew up making a lot of things, especially for gifts, and one year my 9-year old brother made this thread spool organizer as a gift for my Mom. I still have an old hat box with some of her thread spools, forming a nice tangled mess every time I try to paw through it looking for a particular color.
My brother made the handmade thread spool organizer all by himself so you know it is relatively easy to make. And since i have it after all of these years, you also know it is practical as well as appreciated!
How to Make a Handmade Thread Spool Organizer
You will need a piece of wood, 1.5 inch nails, a hammer, a ruler and a pencil. This particular handmade thread spool organizer is 11x17 inches with 5 rows across and 7 rows down.
Mark the straight lines down, then across. Where the lines intersect is where you will hammer in the nails.

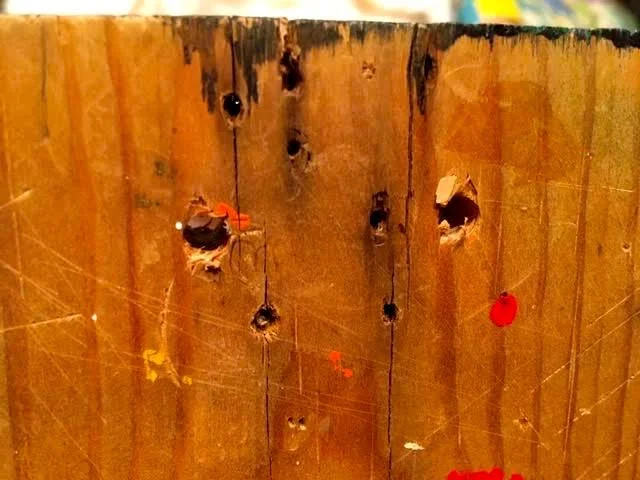
Not exactly straight lines but straight enough! (Photo by Charlotte Ekker Wiggins)
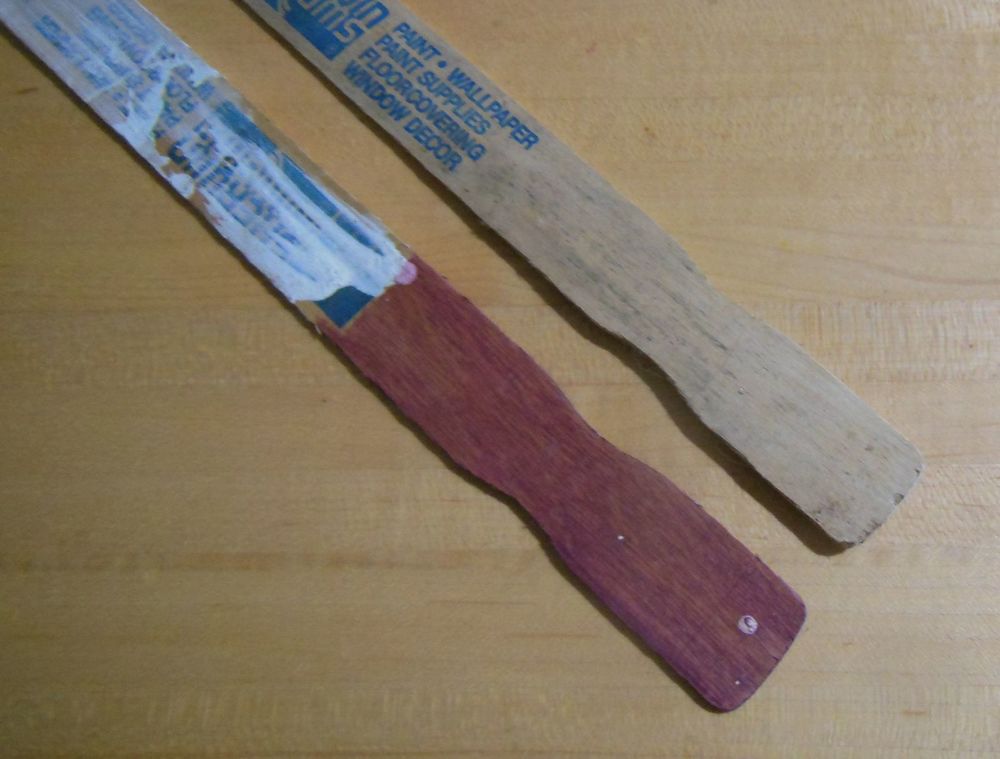
My brother doesn’t remember if he painted this or just recycled a piece of wood. My guess is it was recycled.

Spools of thread waiting fo their turn on the organizer. (Photo by Charlotte Ekker Wiggins)
The back has a picture hangar so that the handmade thread spool organizer can be hung in a sewing corner.
Oops, the picture hangar must have fallen off the back. (Photo by Charlotte Ekker Wiggins)
Looks like there were several hanging options. I need to add a picture hangar to the back side, now I remember why this is leaning against the wall and still doing its work.

My mother repurpsed an old spice rack, left, for her sewing items: sewing machine needles, pins, pieces of ribbon. These two work well as my little sewing support station. You can find the spice racks at local thrift stores and vintage shops.
To make this into a personalized gift set, pair this handmade thread spool organizer with some fabrics or, better yet, a vintage sewing spools quilt!
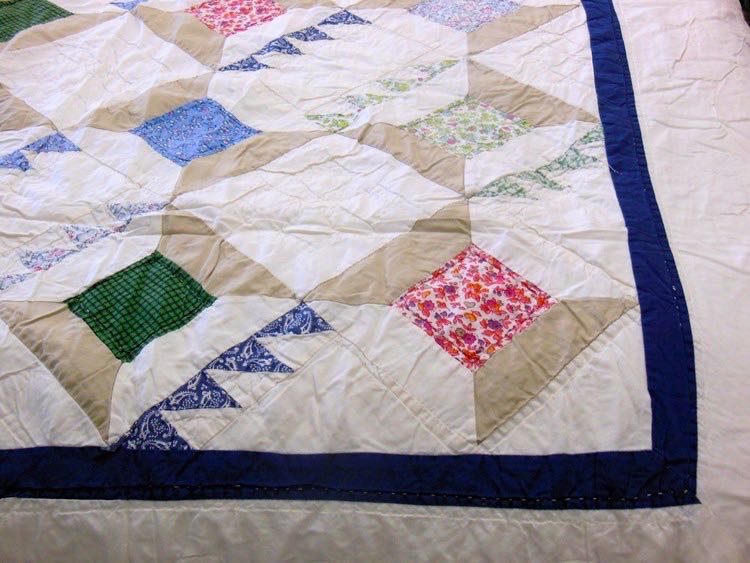
Vintage sewing spools quilt would be a nice addition. (Photo by Charlotte Ekker Wiggins)
If you make one, would you please share a photo?
Happy sewing!
Charlotte