Dry Russian Sage
/
Dry Russian sage, bottom right, adds a nice pop of color to my front porch wreath full of dry greenery. (Photo by Charlotte Ekker Wiggins)
Dry Russian Sage
If you enjoy dry flower wreaths and using dry flowers in home decor, there is a perennial that can add a nice pop of bluish purple that often gets overlooked.
We all tend to look for lavenders but have you considered Russian Sage?

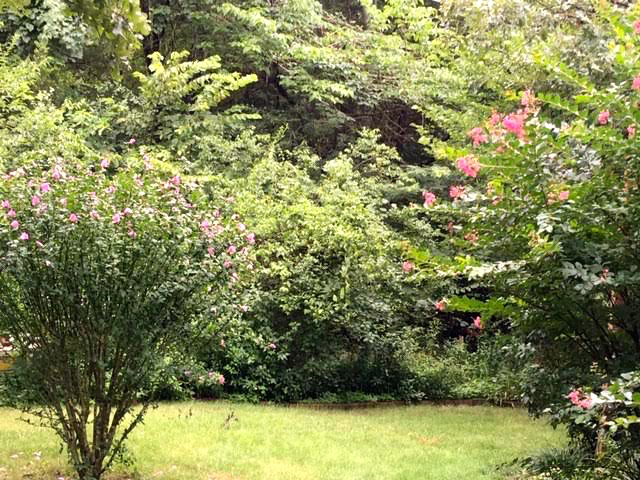
Russian sage is an easy to grow perennial often used as a landscape plant. (Photo by Charlotte Ekker Wiggins)
I see Russian Sage growing all around where I live in mid-Missouri. It is a popular landscaping plant, which means businesses tend to use them to add color. One business I know pulled them out because they were a magnet for bees, which of course I loved to see. That inspired me to add them to my garden.
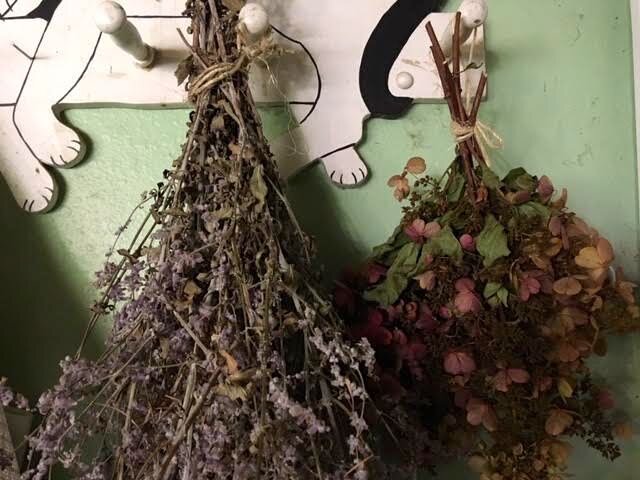
I hand bundled Russian sage in garage on coat hangars to dry. Panacle hydrangeas, right, as well. (Photo by Charlotte Ekker Wiggins)
How to Dry Russian Sage (or any other plants)
It is easy to dry this hardy perennial. Once you cut off the blue spikes, tie with a string and hang for a few days so the greenery and stems dry.
I use coat hangars in my garage. If the weather gets cool, place them in a basket over your refrigerator, the heat of the motor provides a nice drying spot.
Once dry, you can easily incorporate Russian sage into wreaths and other dry flower arrangements.
I also have a bouquet dry Russian Sage sitting in a windowless bathroom. The bluish purple color adds a nice punch of color through winter when I won’t have fresh flowers to add.

This sprig of dry Russian Sage now decorates a corner of a bathroom. (Photo by Charlotte Ekker Wiggins)
Once dry, Russian sage also looses its scent. I don’t use oils but it occurred to me you could easily add a drop of lavender.
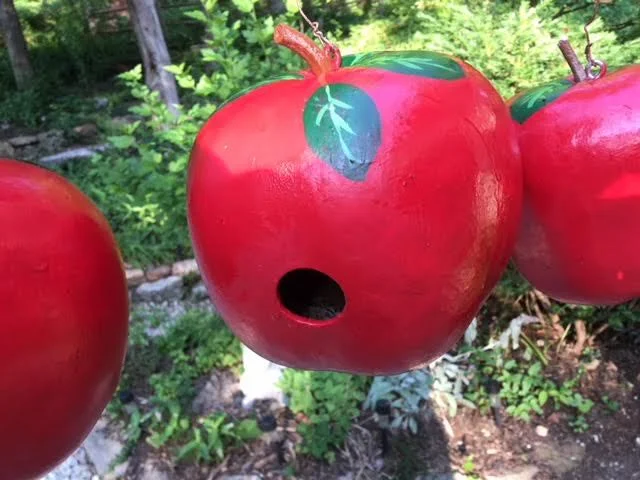
I added small bunches of Russian Sage to my outside grapevine wreaths, adding a nice pop of color. The grapevine wreath on my front porch has a little gourd bluebird that is fun to decorate with dried plants and branches. I’m sure the deer will let me know what they think of it.
Any day now.
Charlotte