Fabric Holiday Wreath
/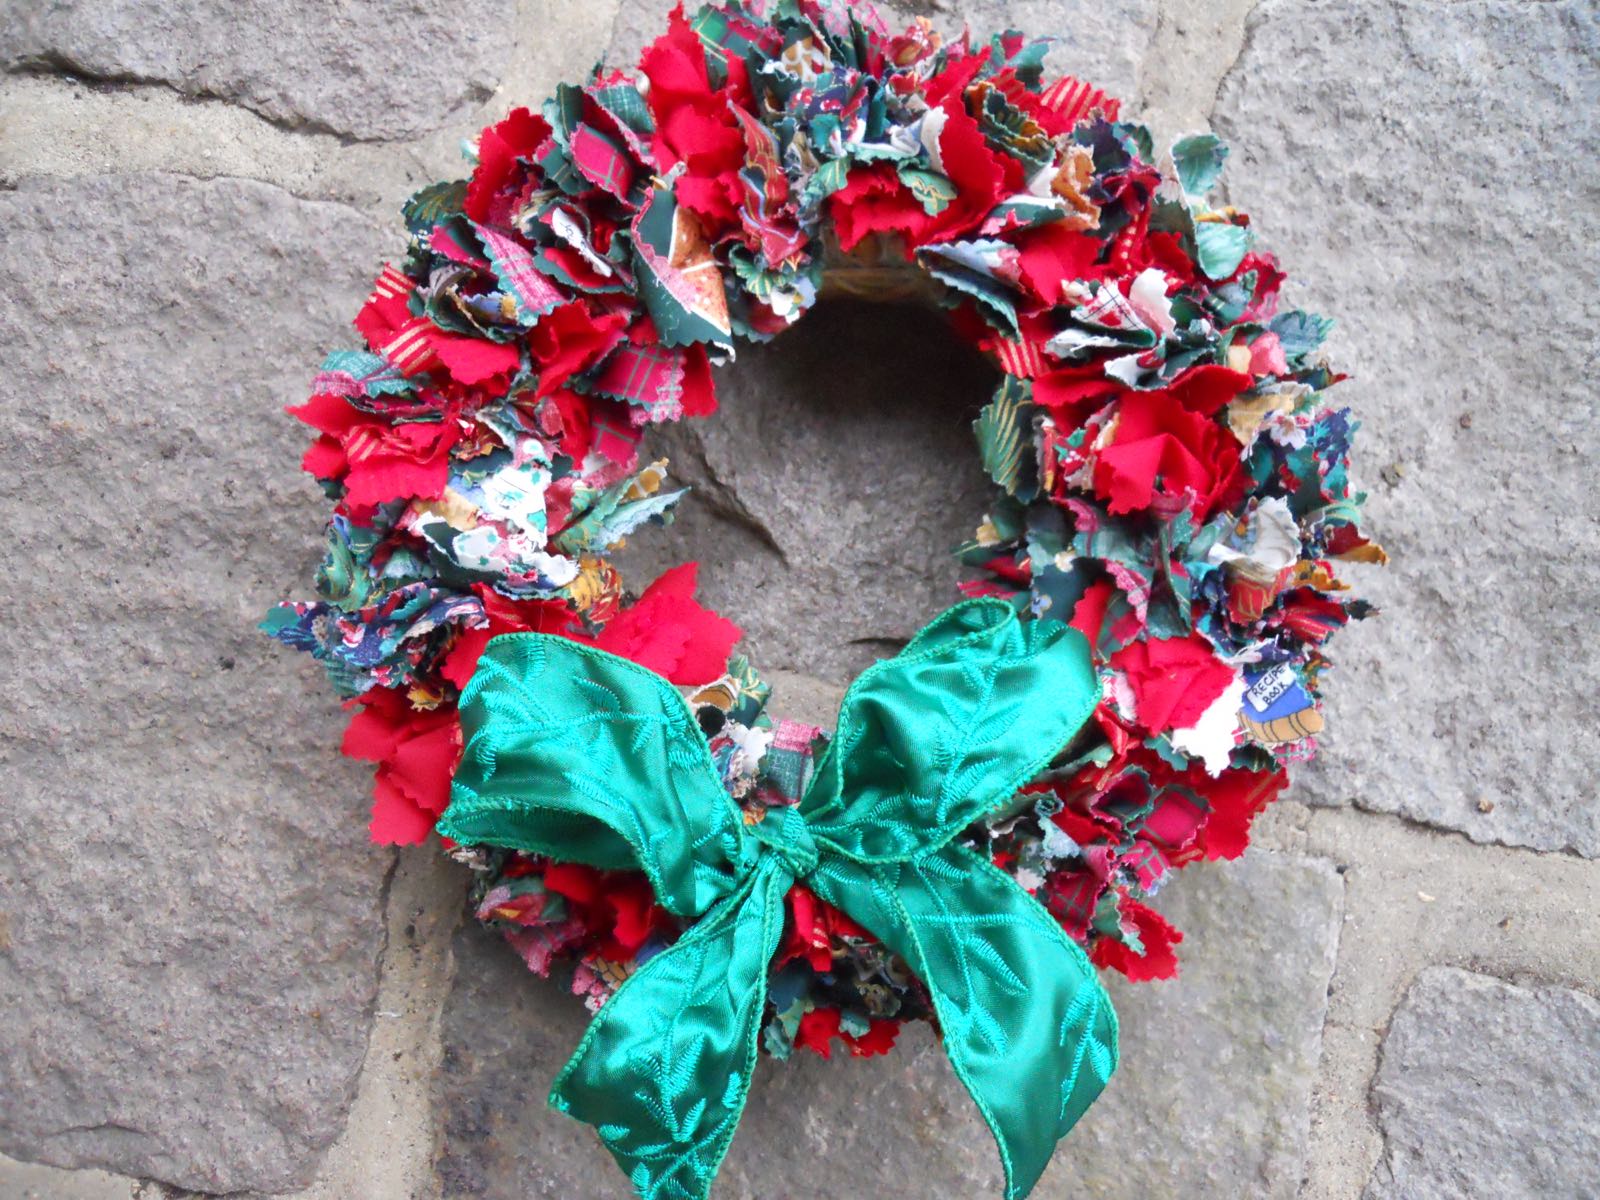
One of the holiday traditions is adding wreaths to our home decor. You can get the family involved, too. You could make this fabric holiday wreath for almost any occasion, or no occasion at all if you just want to use up fabric scraps or break into your secret, holiday-themed fabric stash. No worries, we all have them!
Start with one of those craft store wreaths that look like a bunch of straw bundled together. You want something you can easily poke holes in. Don't remove the clear wrap unless you don't mind those little pieces falling all over your floors.

These wreaths are available at most craft stores and big box stores with craft sections.
Cut fabric pieces into 2-inch squares with pinking shears. You could use all red fabrics or all holly green fabrics. I couldn't decide which one to use so I used both.

Pinking shear fabric edges give fabric squares an easy finish and add texture to the wreath.
Once you have pieces cut, have little hands punch holes literally into the wreath with a safe bamboo chopstick. If adults are helping, use closed scissors to poke a hole, then center a fabric square on the scissor point and insert into the hole.

Bamboo sticks make a safe tool for little hands to help making the wreath.
Once the wreath is full, add a wire and twist at the back so that you can easily hang it. You can add a wire before you start poking fabric in but it may be hard to find later.

Adding a loop of wire makes hanging the wreath easier.
I have my fabric holiday wreath hanging inside my front door so I can enjoy it. I'm also thinking it would make a nice addition to a fireplace mantel.
Almost forgot. Don't forget to add a bow!
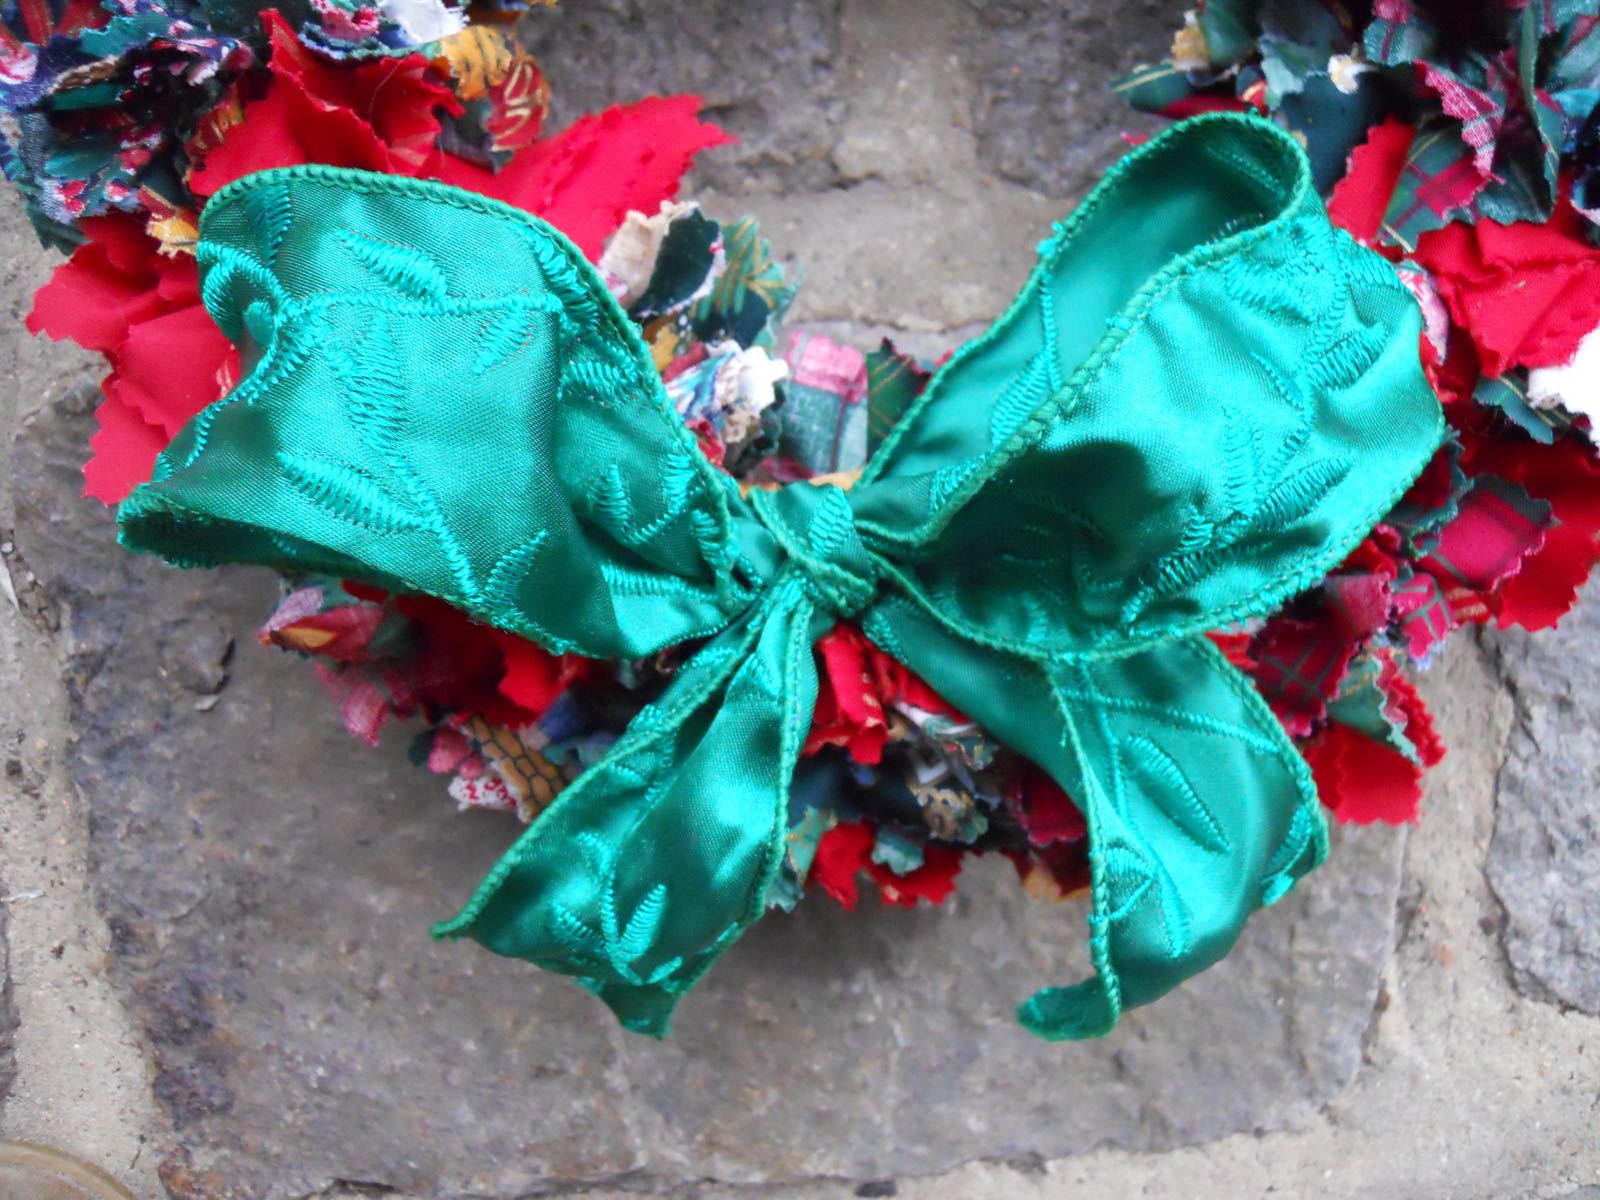
Wired ribbons hold their shape better than plain ribbons but either one will work.
This fabric wreath is easy to make and will be a nice addition to your holiday decor for many years to come!
Charlotte