Covering Paint Stains
/
Simple daisy flower embroidery can cover paint stains on fleece. (Photo by Charlotte Ekker Wiggins)
Covering Paint Stains
When I learned to embroider at age 8, it did not cross my mind that I would be using that skill decades later to save a favorite fleece jacket from a close encounter with paint. Whether it is paint, a food stain or any other mark you didn’t mean to have on fabric, the simple daisy embroidery design can easily cover the mark so you can continue to use the item.
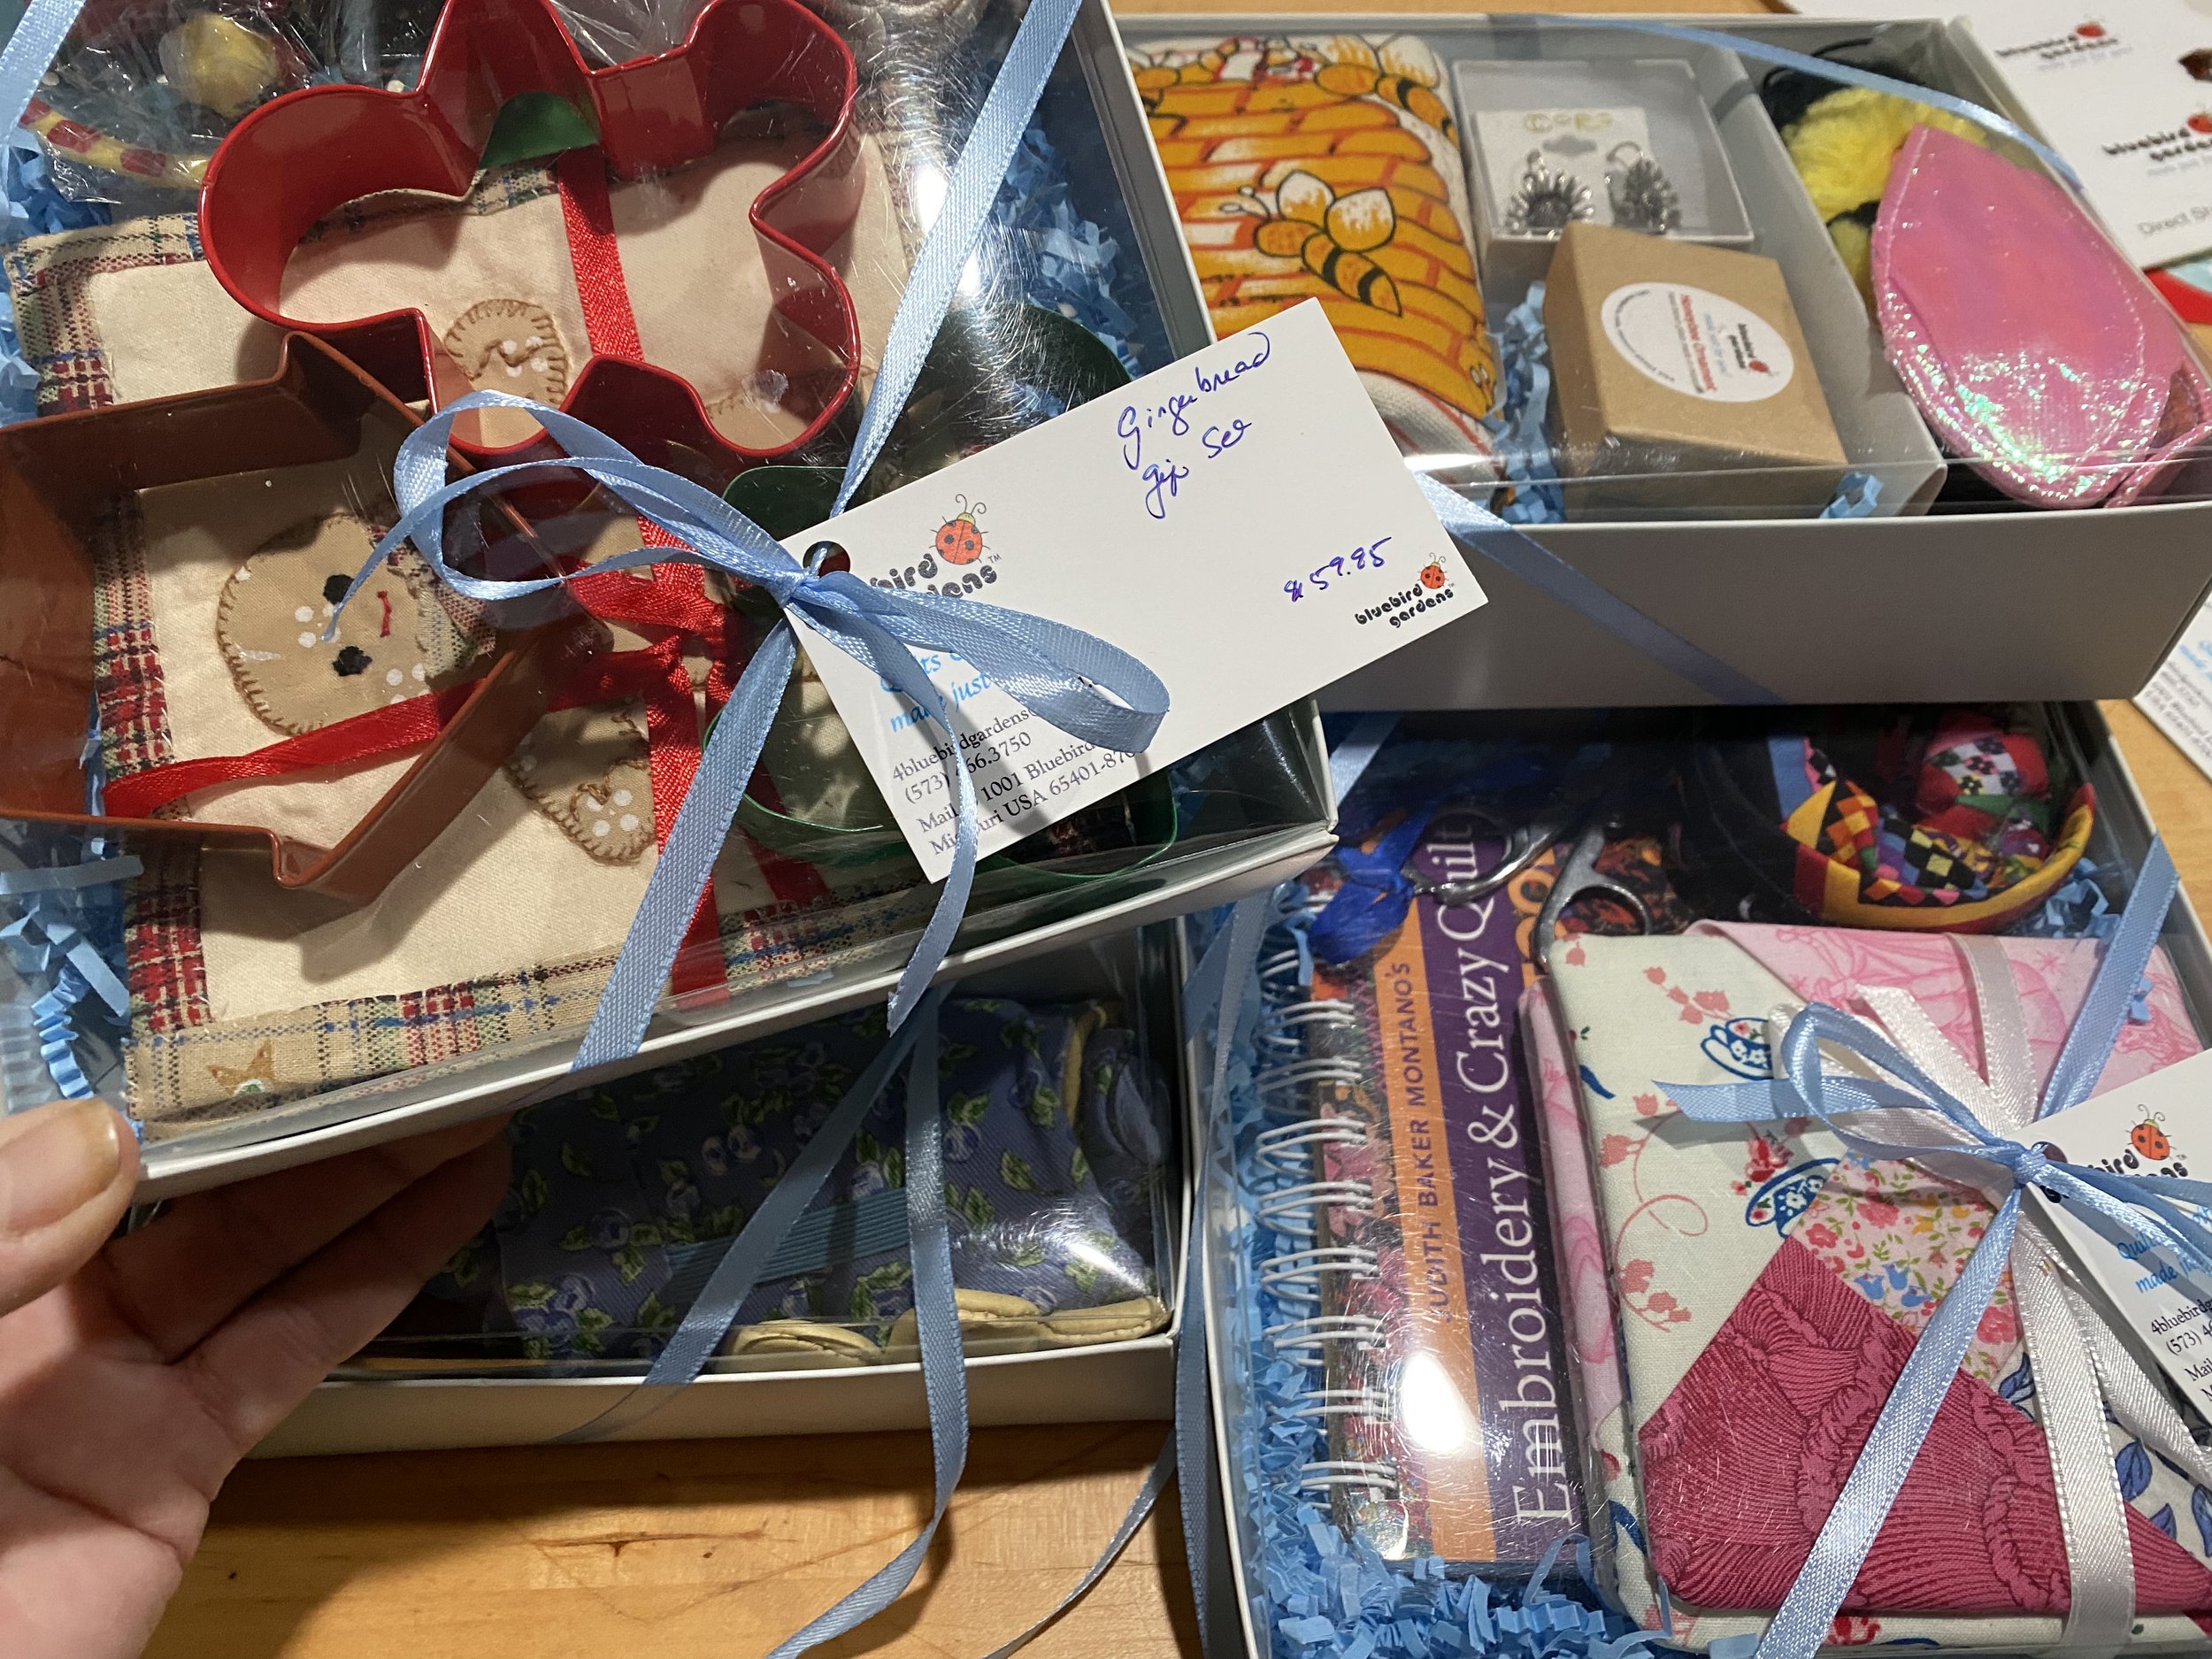
Actually it doesn’t have to be just the daisy design. You can use butterflies, bees or other garden-inspired embroidery represented in this Buzzing Garden Baby Crib Quilt as your inspiration. The daisy design has become my go to design because it’s easy to do and can nicely cover a variety of stains.
In this example, I ended up with yellow paint on a sleeve of this favorite beige fleece gardening jacket. Since I like to wear it also shopping and not only in my garden, I set it aside for a little rehab work.
Start by choosing embroidery floss that most closely matches the color of the basic item. Matching colors will help the spot blend in.
I could have also selected an embroidery floss that matches the yellow paint. That color selection would have made the spot more prominent.
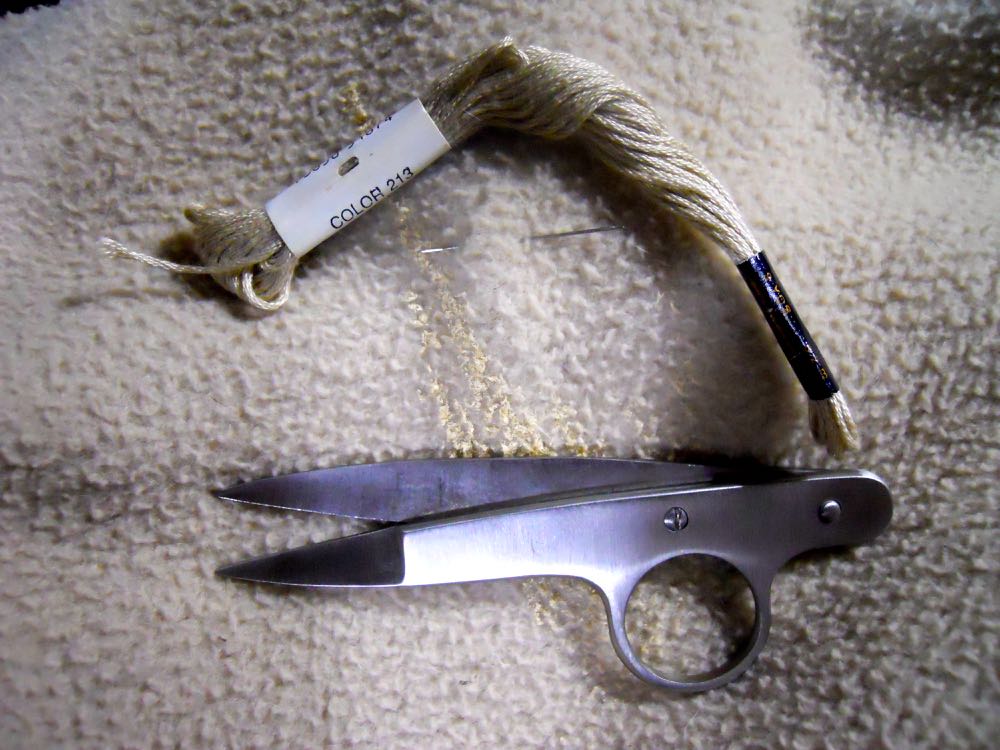
Match the embroidery floss color to the fabric. (Photo by Charlotte Ekker Wiggins)
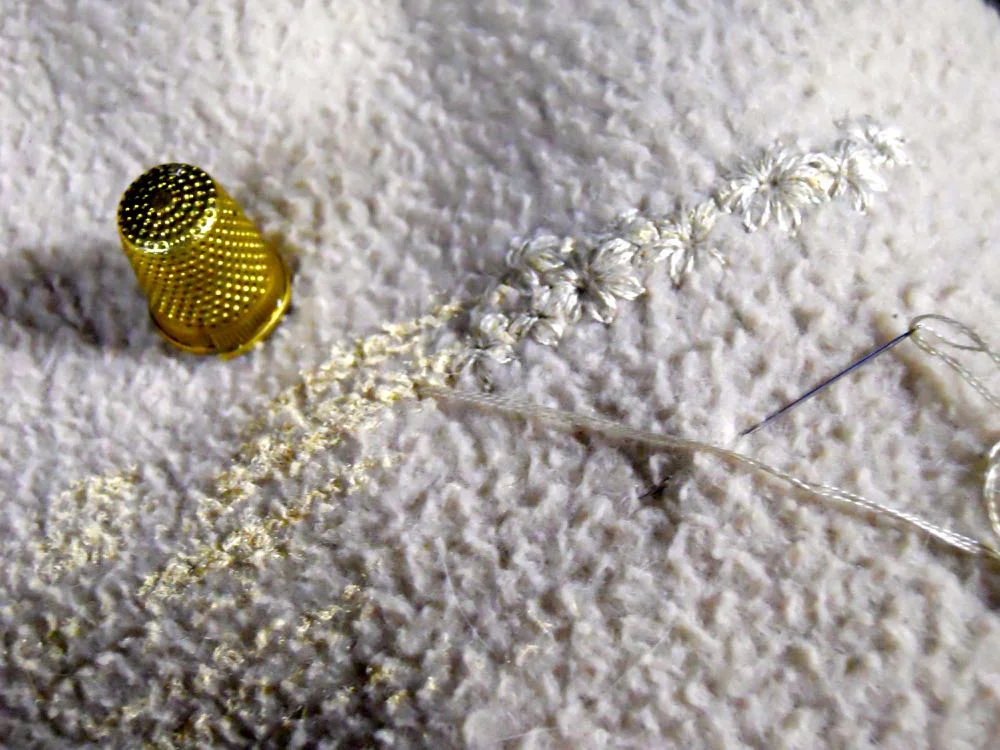
Once I had the matching embroidery floss, I just started the embroidery process, covering the yellow paint with the daisy flowers sewn very close together.

As you embroider, see how the matching floss color covers the paint. (Photo by Charlotte Ekker Wiggins)
As I covered the paint, a design shaped itself over the paint.
To make the embroidery look more deliberate, I also embroidered several other patches on the jacket so that it appears to be part of the jacket look.
In addition, I used thread snips to carefully and gently cut off some of the remaining paint since paint solvent would not remove it.

The grouping of daisy embroidery now covers most of the pain. (Photo by Charlotte Ekker Wiggins)
I took the embellished jacket out for a spin earlier this week. It was nice to have it back and to be able to continue to use it!
Charlotte